Yule
Another holiday flies past without a post up! We even did it last week, but alas the time to write escaped. Or really I started watching Orange is the New Black and spent time lounging in front of the TV rather then being productive in the evening.
Anyway the real point of this blog post is to talk about what we learned about the Pagan holiday of Yule. What another fun holiday that is completely relatable for the kids! Yule is a celebration of light that takes place on the day of the winter solstice, around December 20 or 21. In the Northern hemisphere, this is the shortest day of the year and all the days following will be longer until the summer solstice. This holiday is a festival of the Sun, so the most important part of Yule is light. This holiday is another time of feasting and merrymaking. It is a festival or magic, rebirth, and renewal. Those who celebrate it have traditional customs such as the Yule log, a decorated tree, and wassailing.
For our craft and food we made the same thing, Dehydrated orange slices. These are a good yule craft because they represent the sun with their sunburst shape. They can be tied with ribbon and hung from the tree or remove the peel and eat them as a healthy real fruit gummy snack.
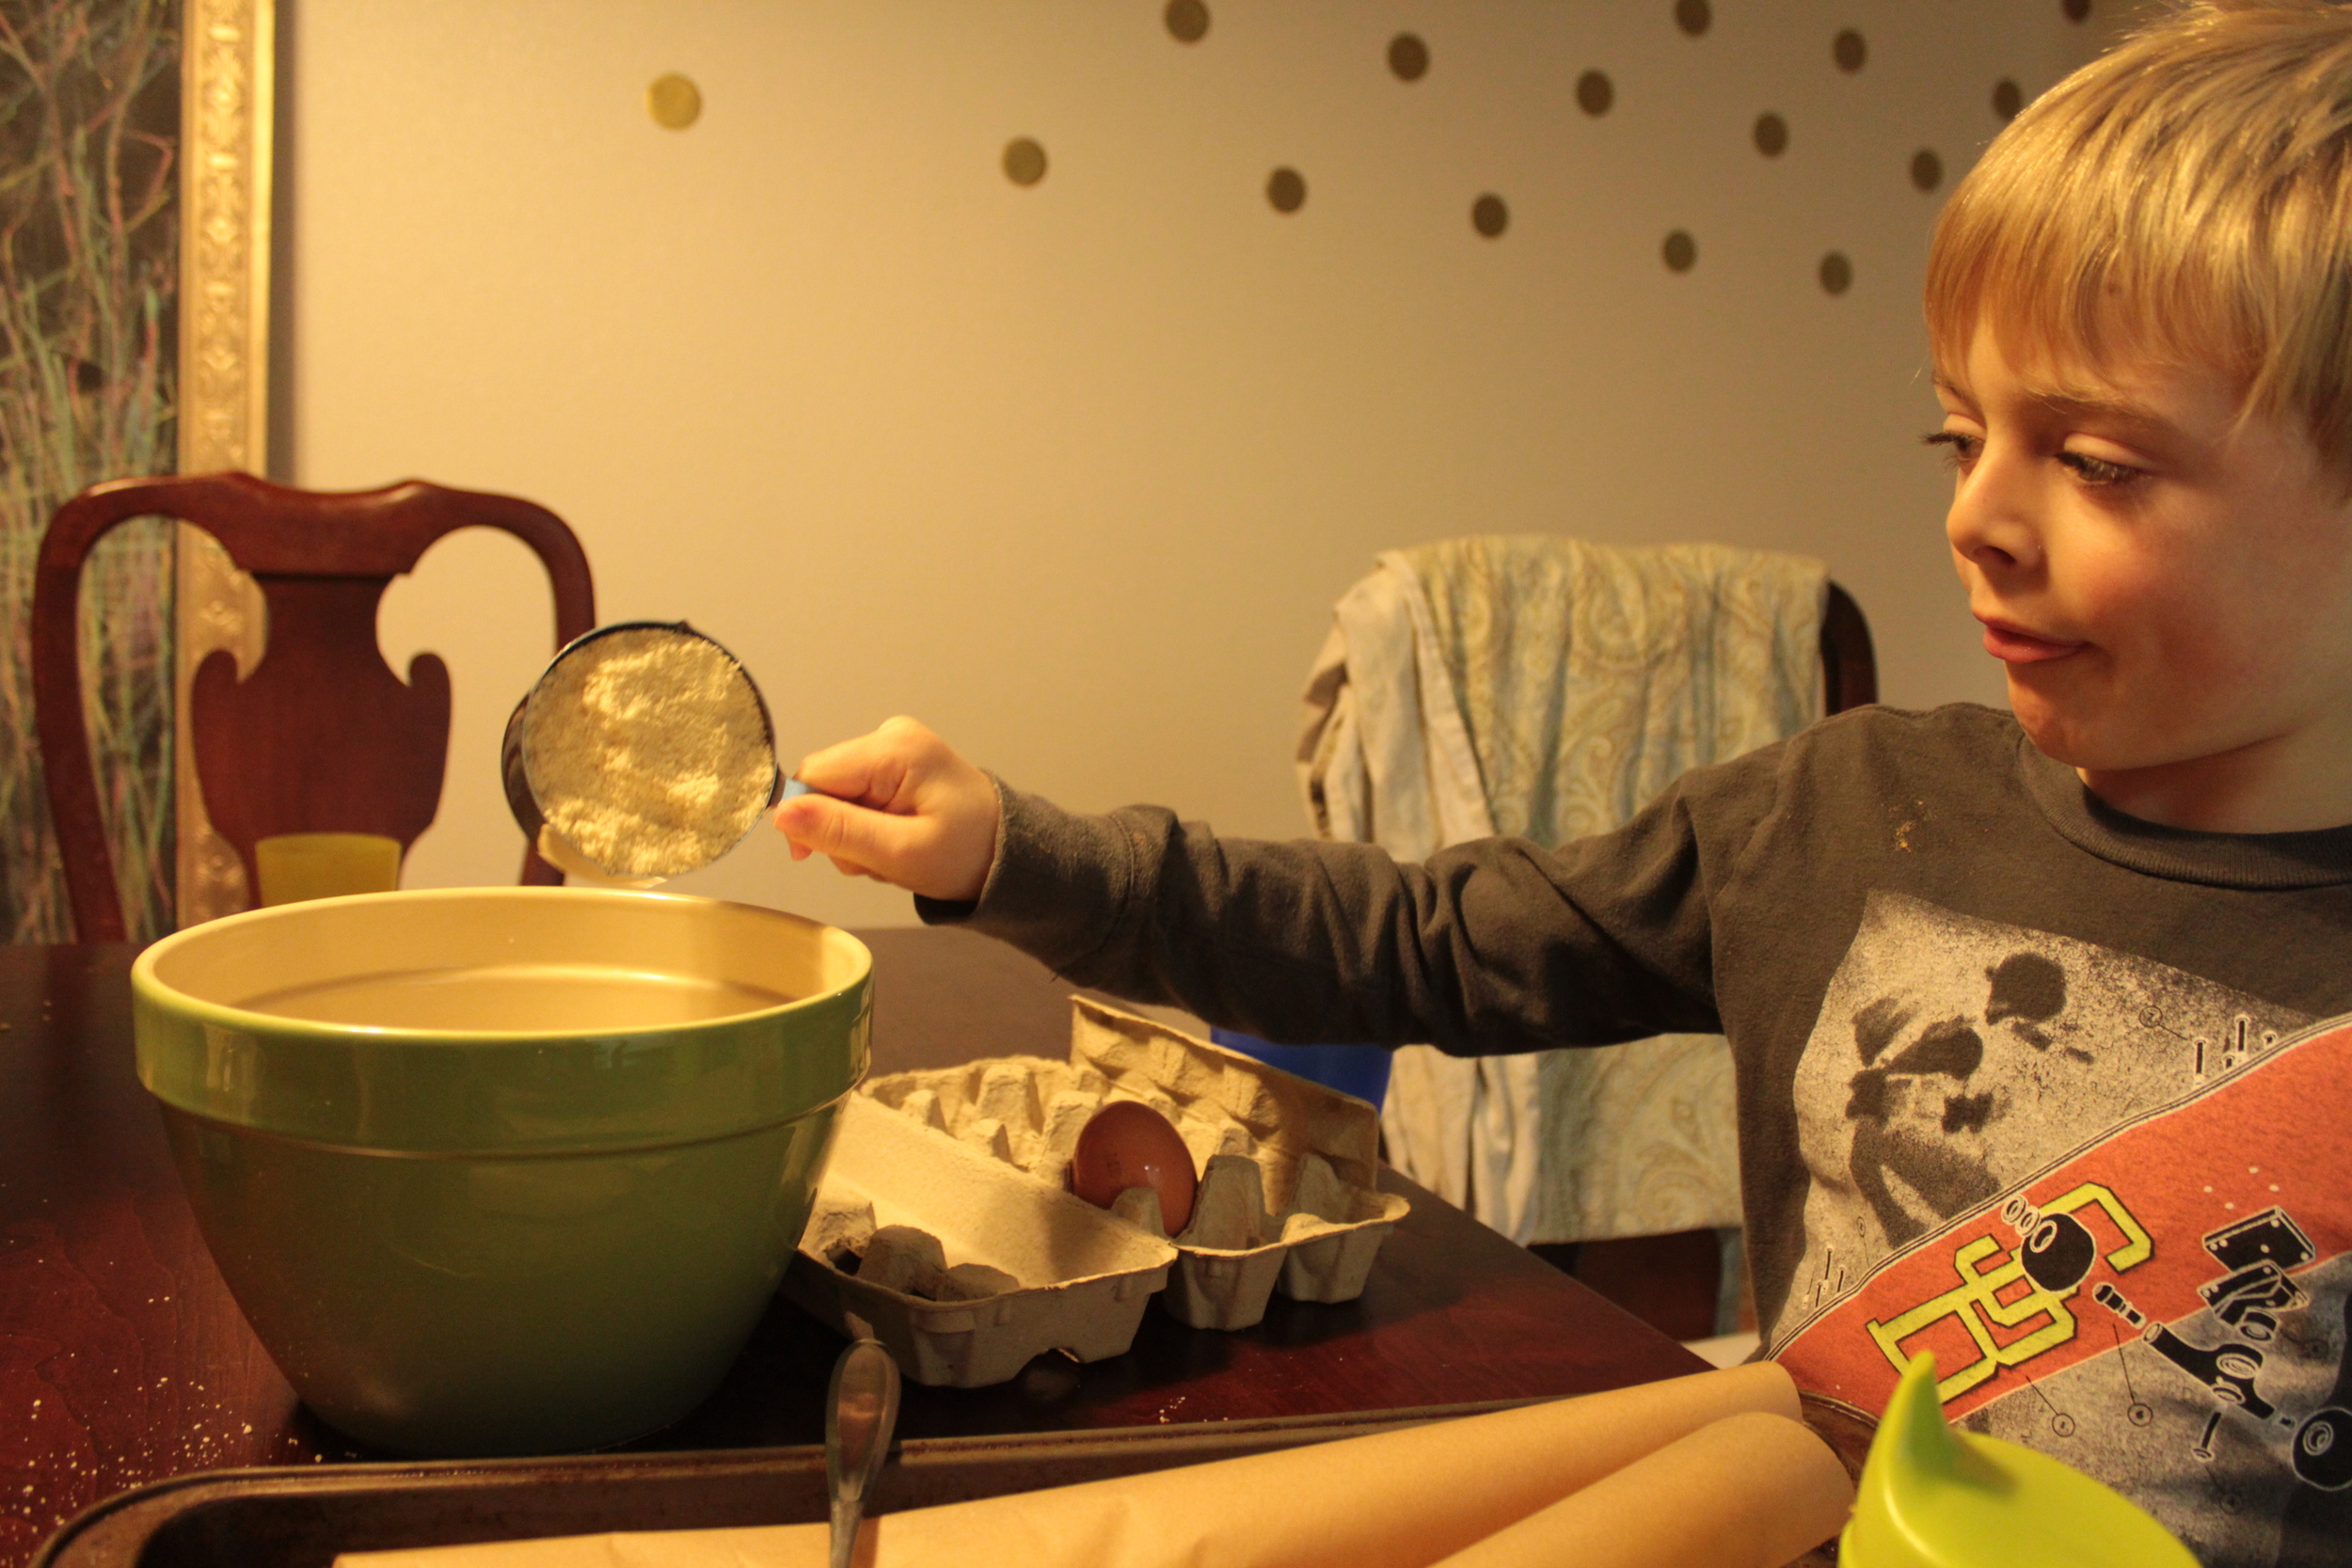
The various recipes I saw suggested using small oranges with a thin peel. We had a crate of clementines already so decided to use those. My two oldest sons each cut up a clementine and my youngest ate the other ones we had set aside.
Method:
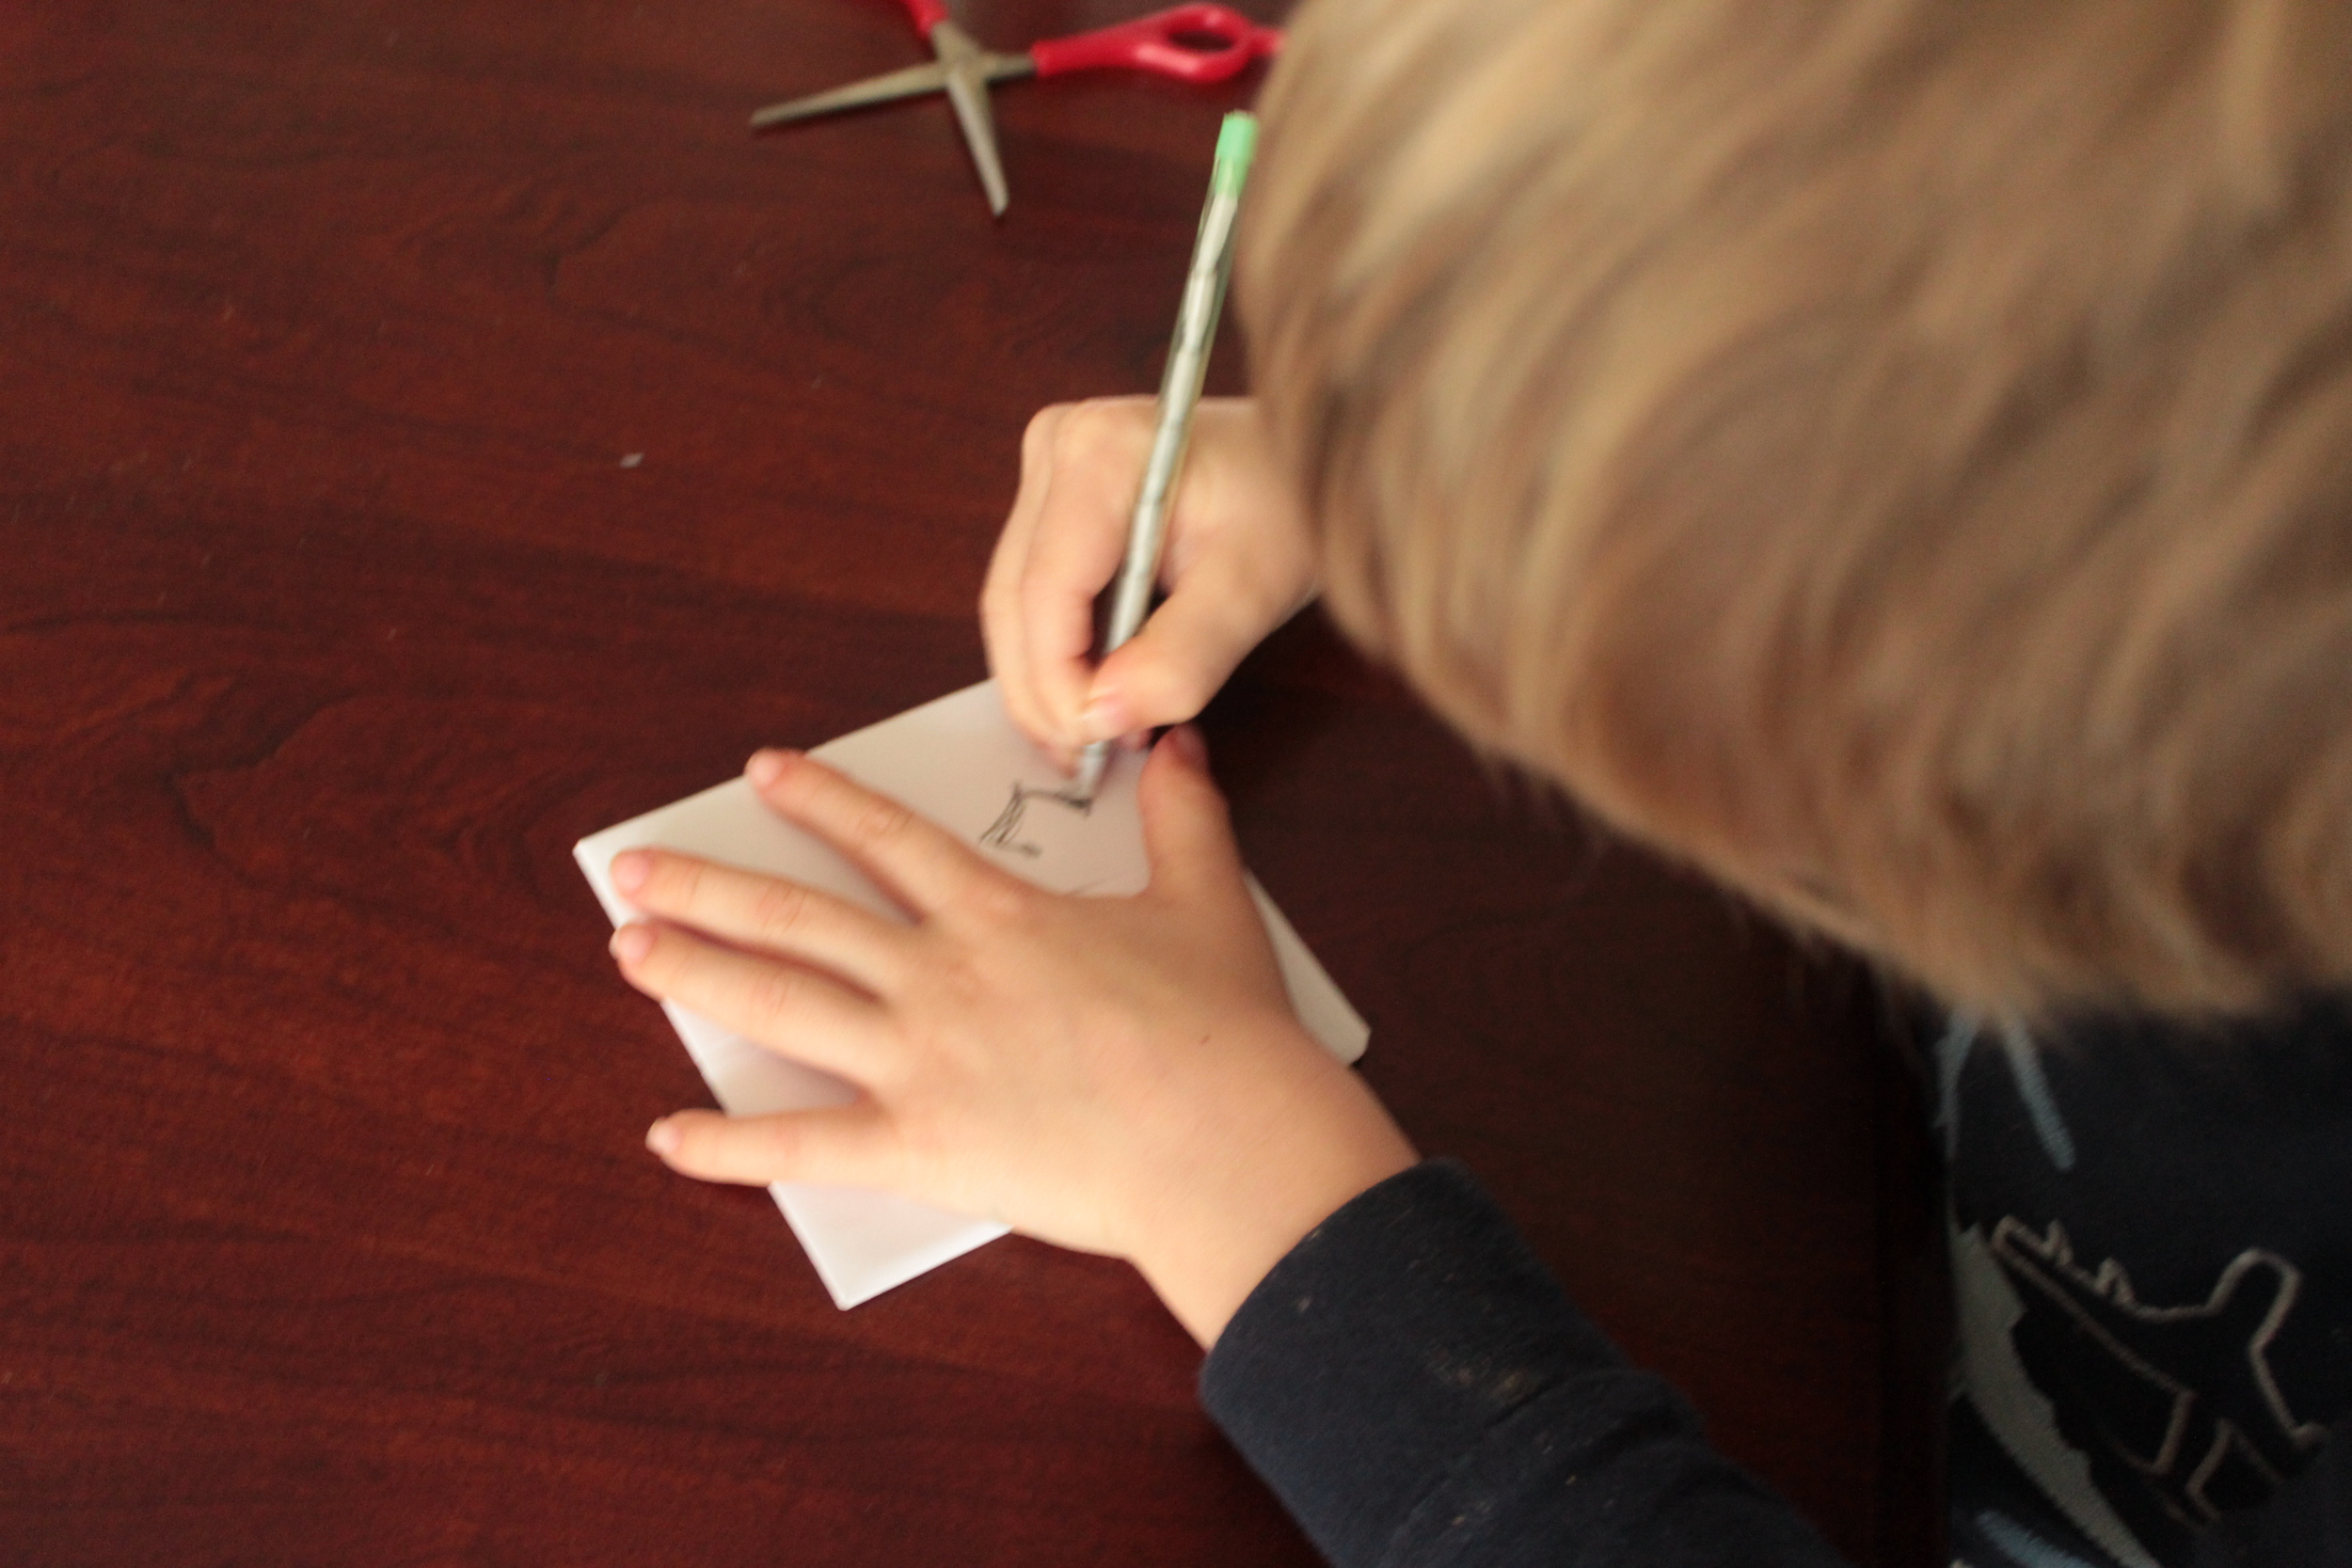
- Cut oranges into slices 1/4 inch thick or less. (Discard the end pieces)
- Place in oven preheated at 200F and leave the door ajar. We placed ours on a cooling rack in the oven. I sad directions to place straight onto the oven rack to prevent sticking, but the cooling rack worked perfectly.
- Turn oranges about every 10-15 minutes.
- The recipes I saw said it would take 2 hours, but ours were done in about an hour and 15 min. When finished the slices will be thin, clear, and dry.
- Allow to cool over night. Then tie up with ribbon to make into decorations or remove peel and eat!
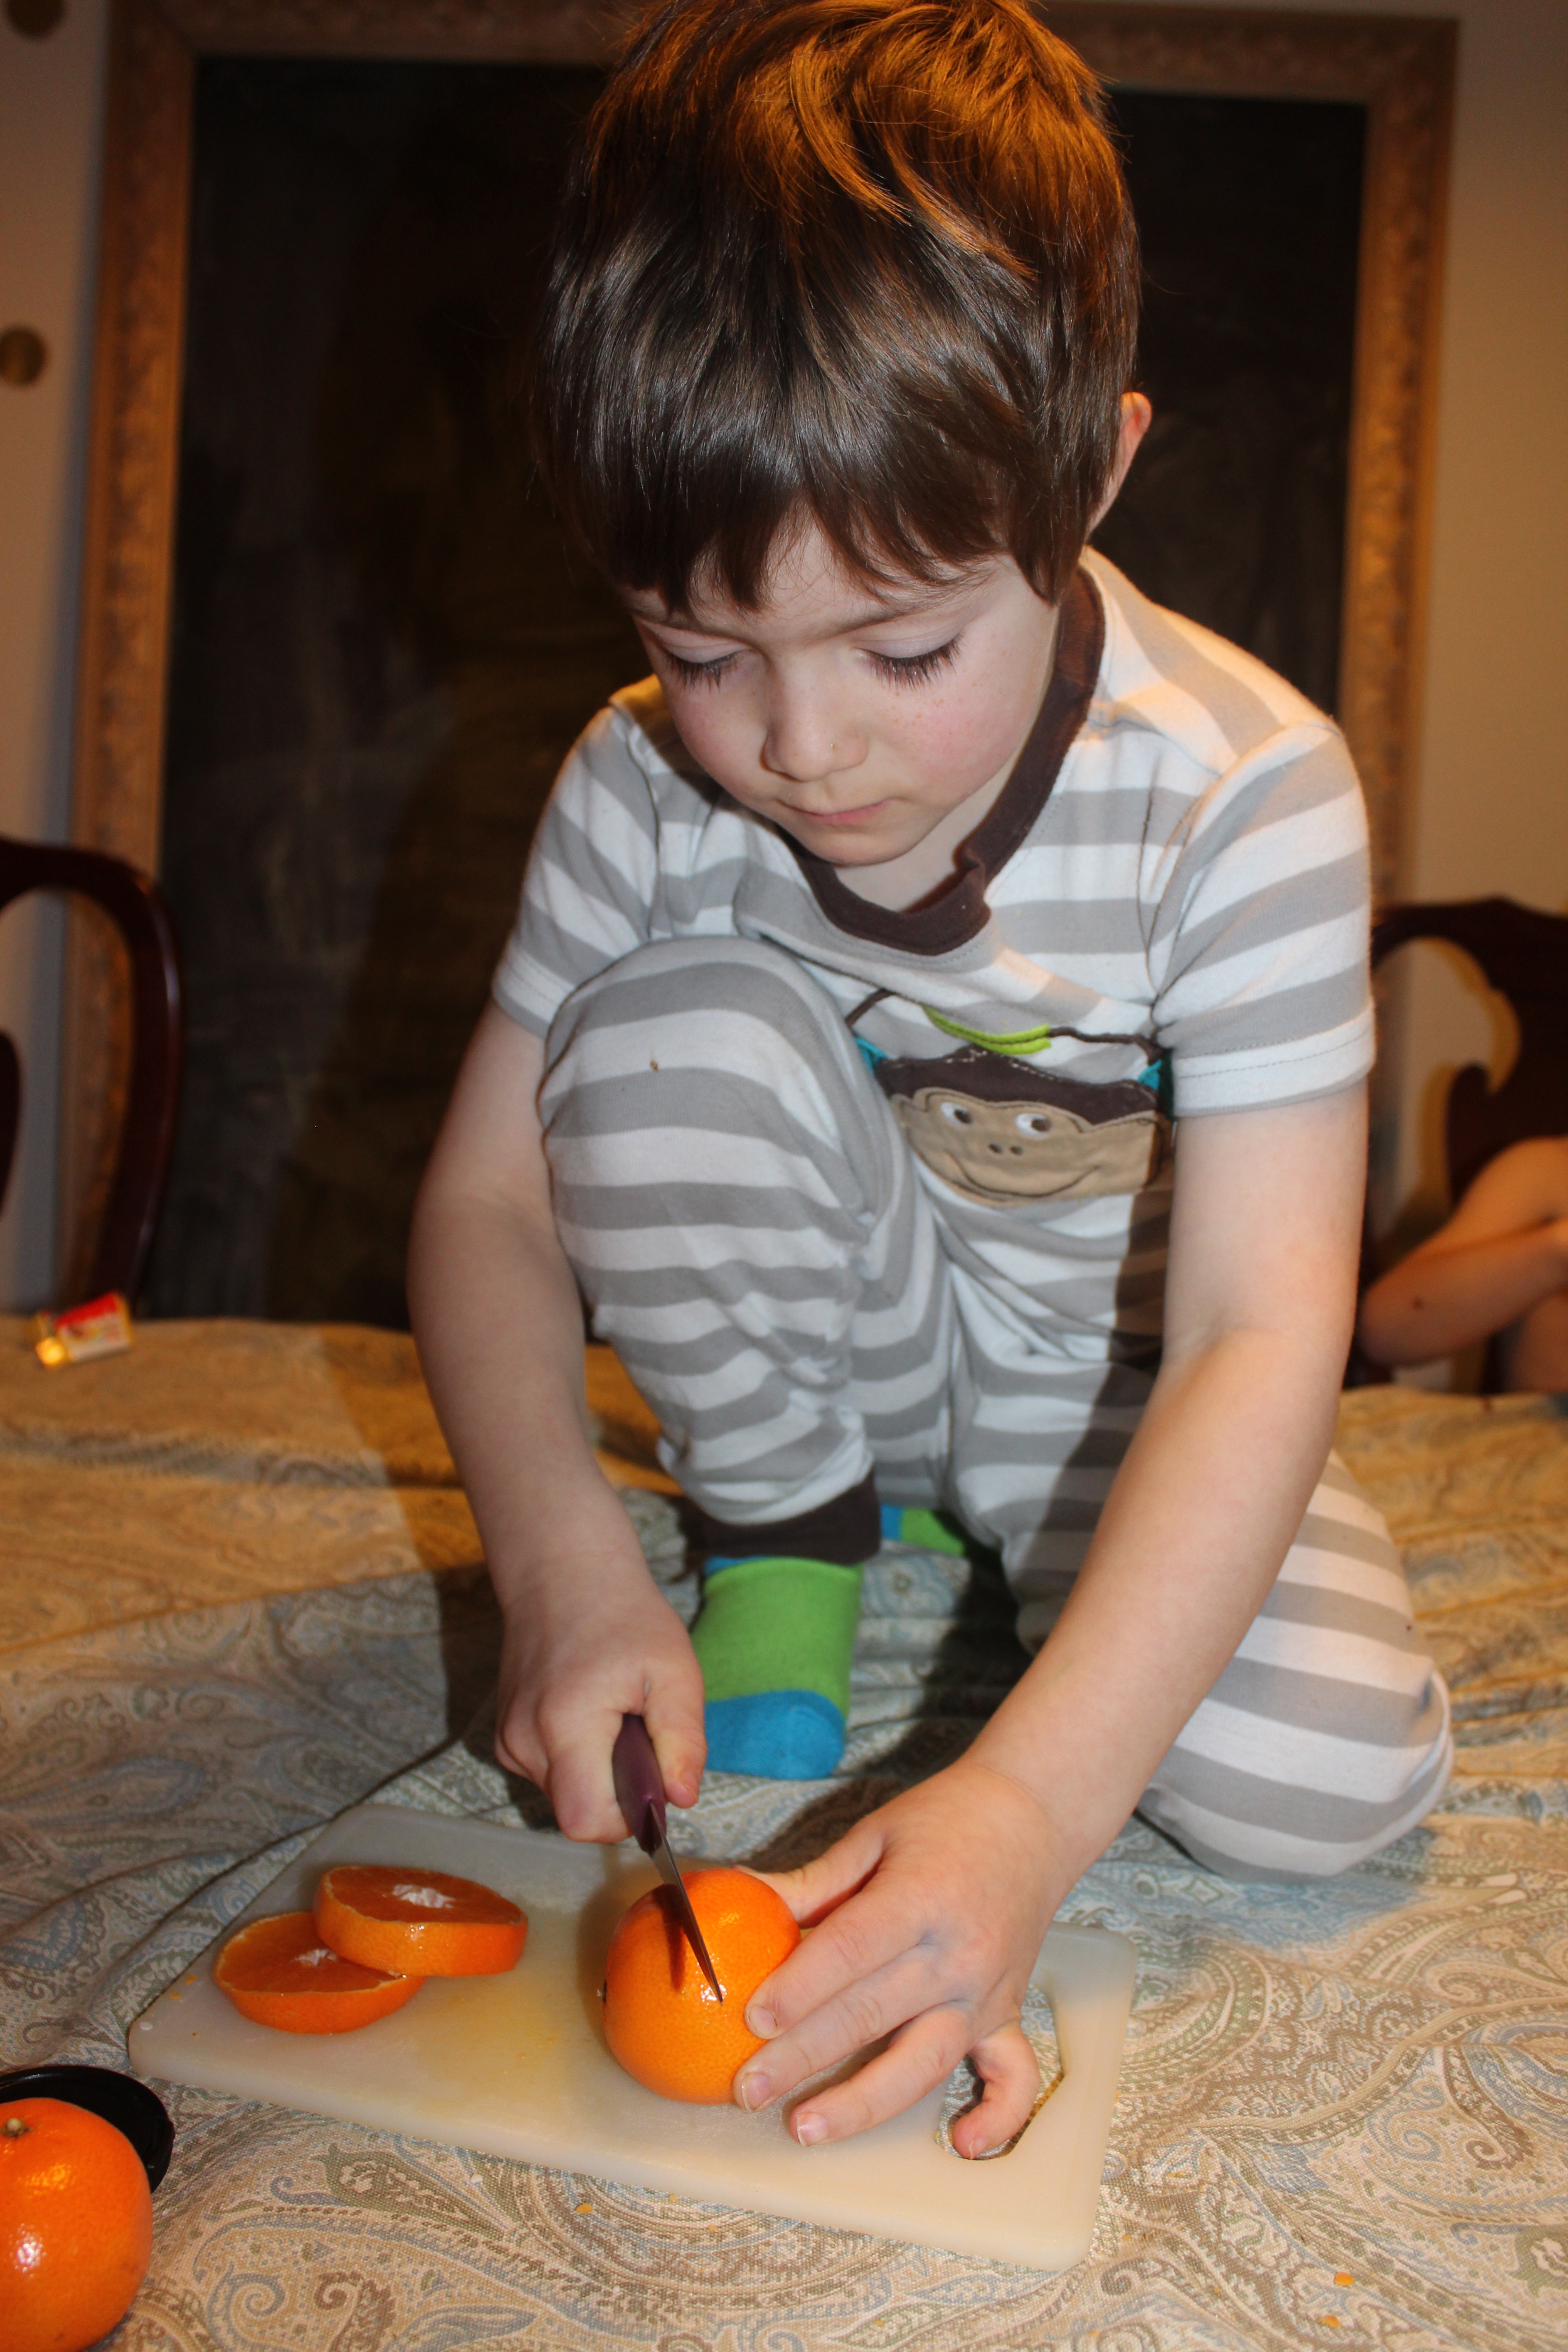
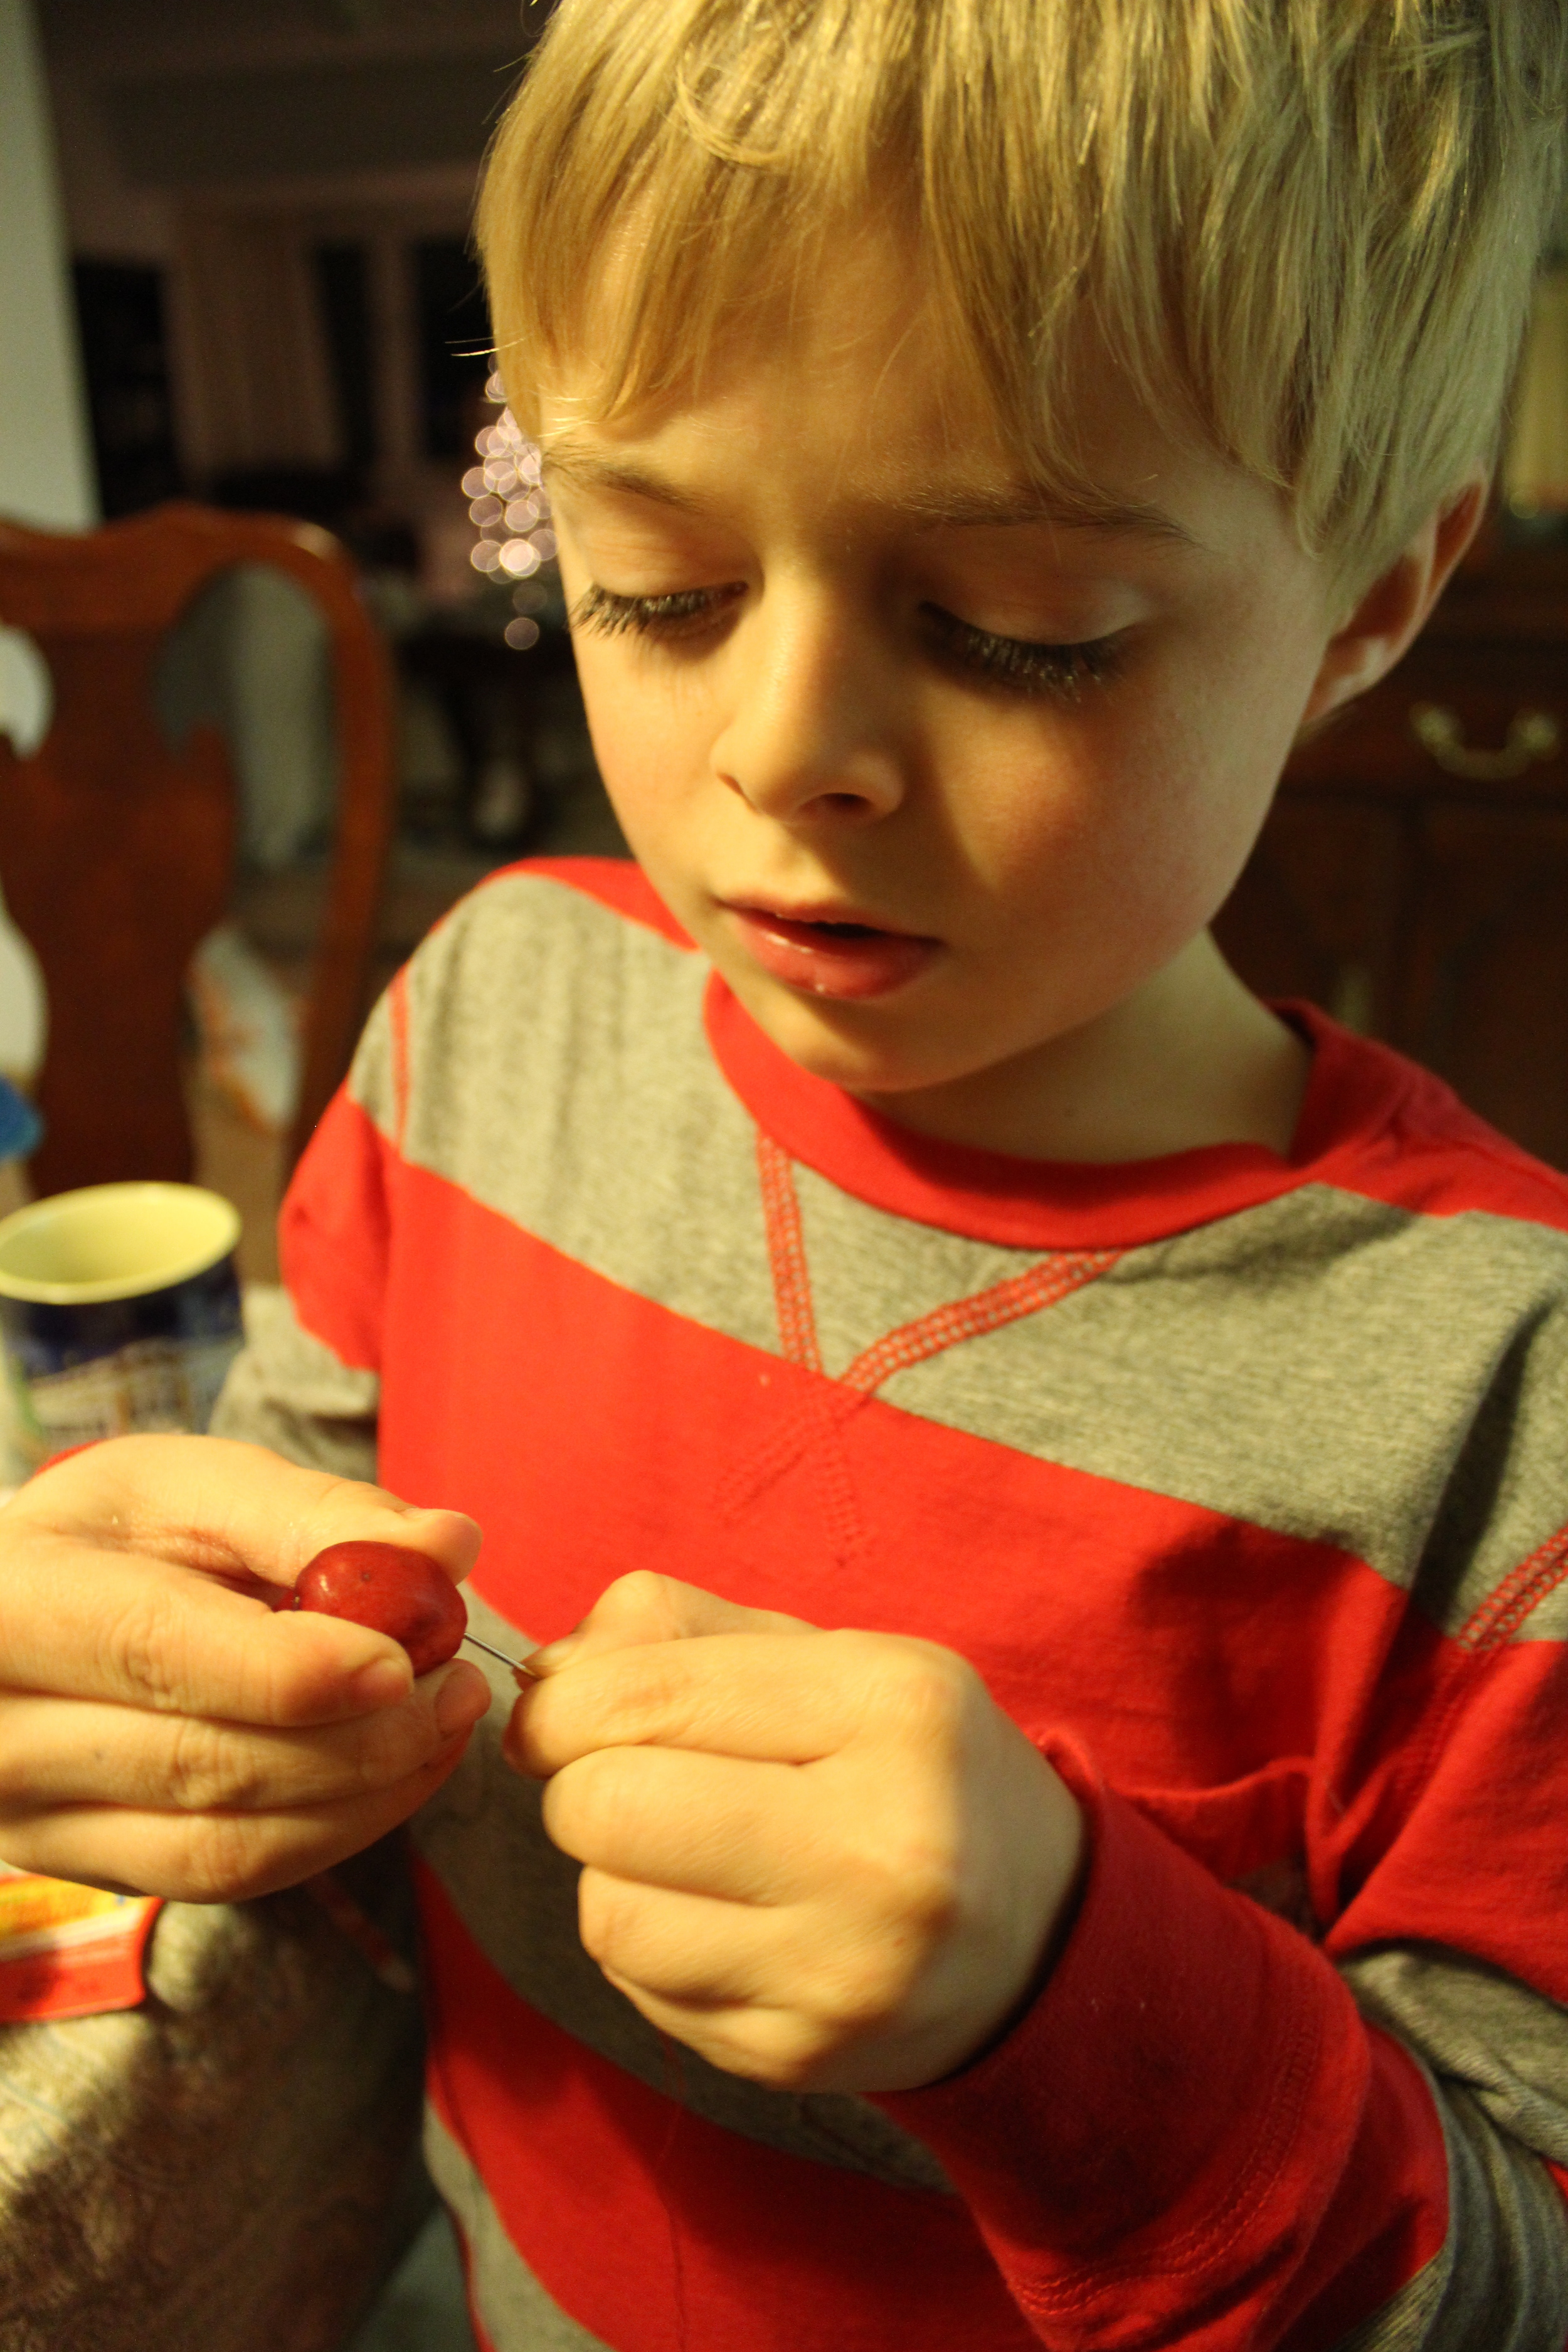
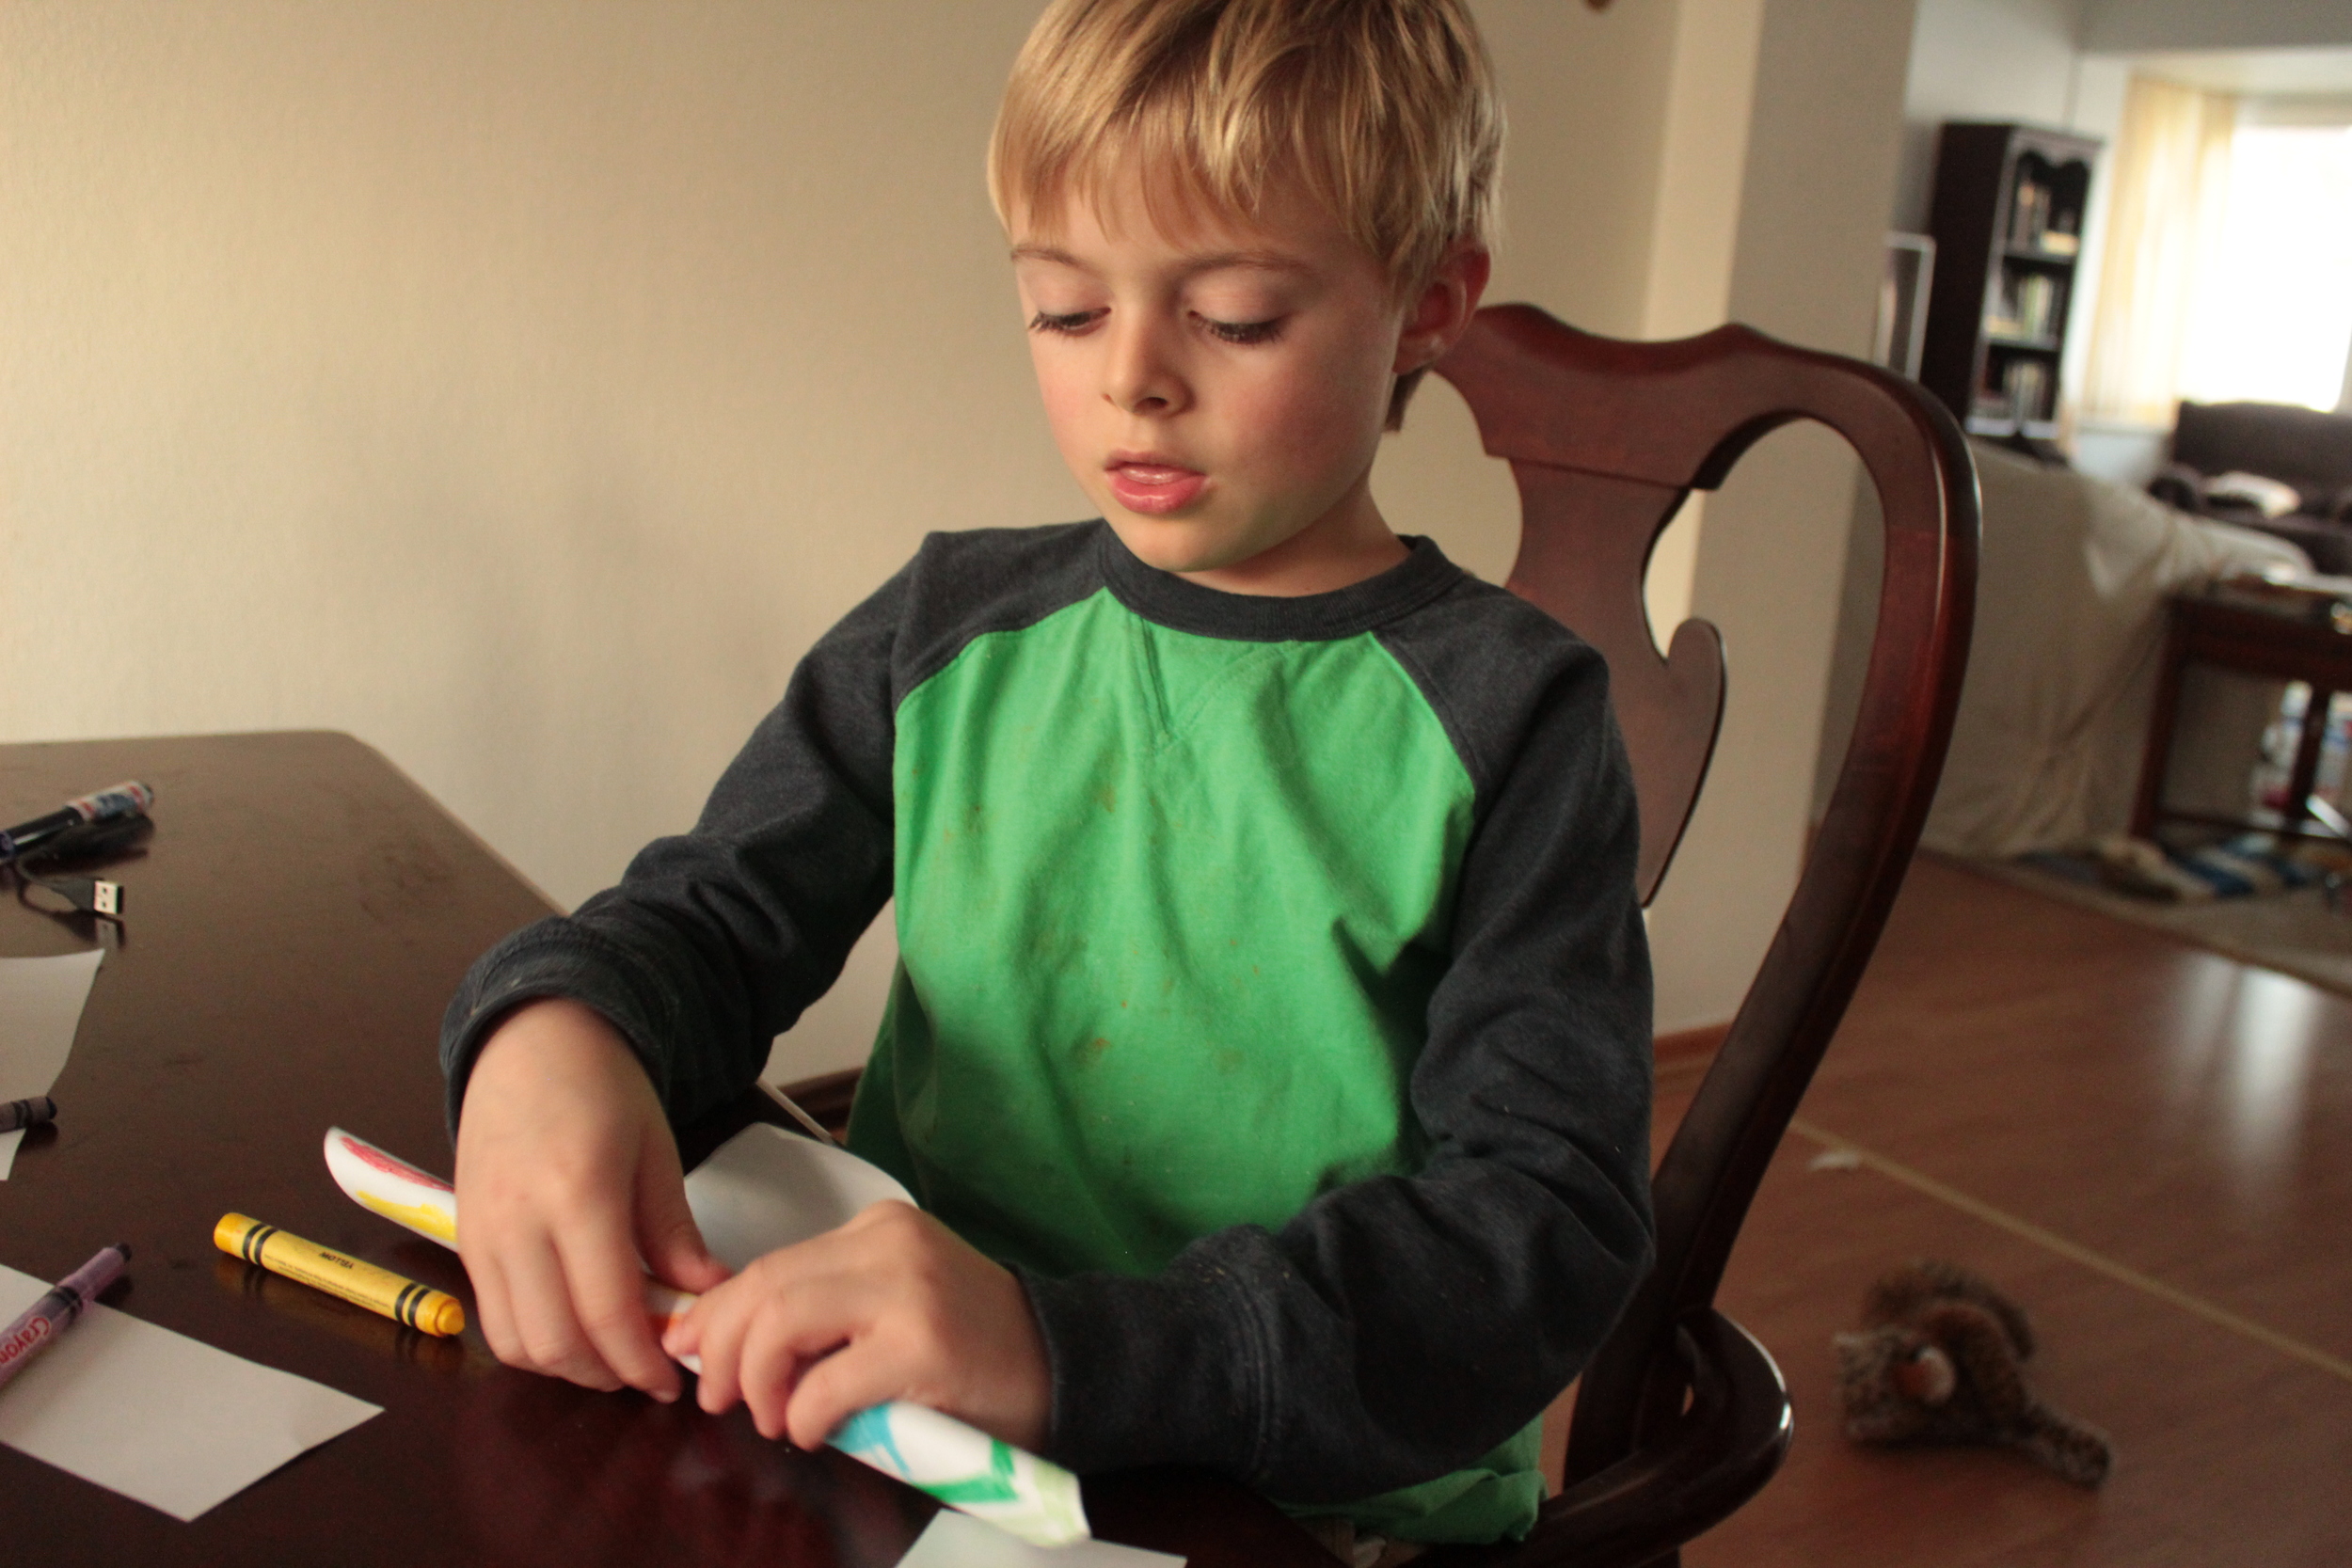
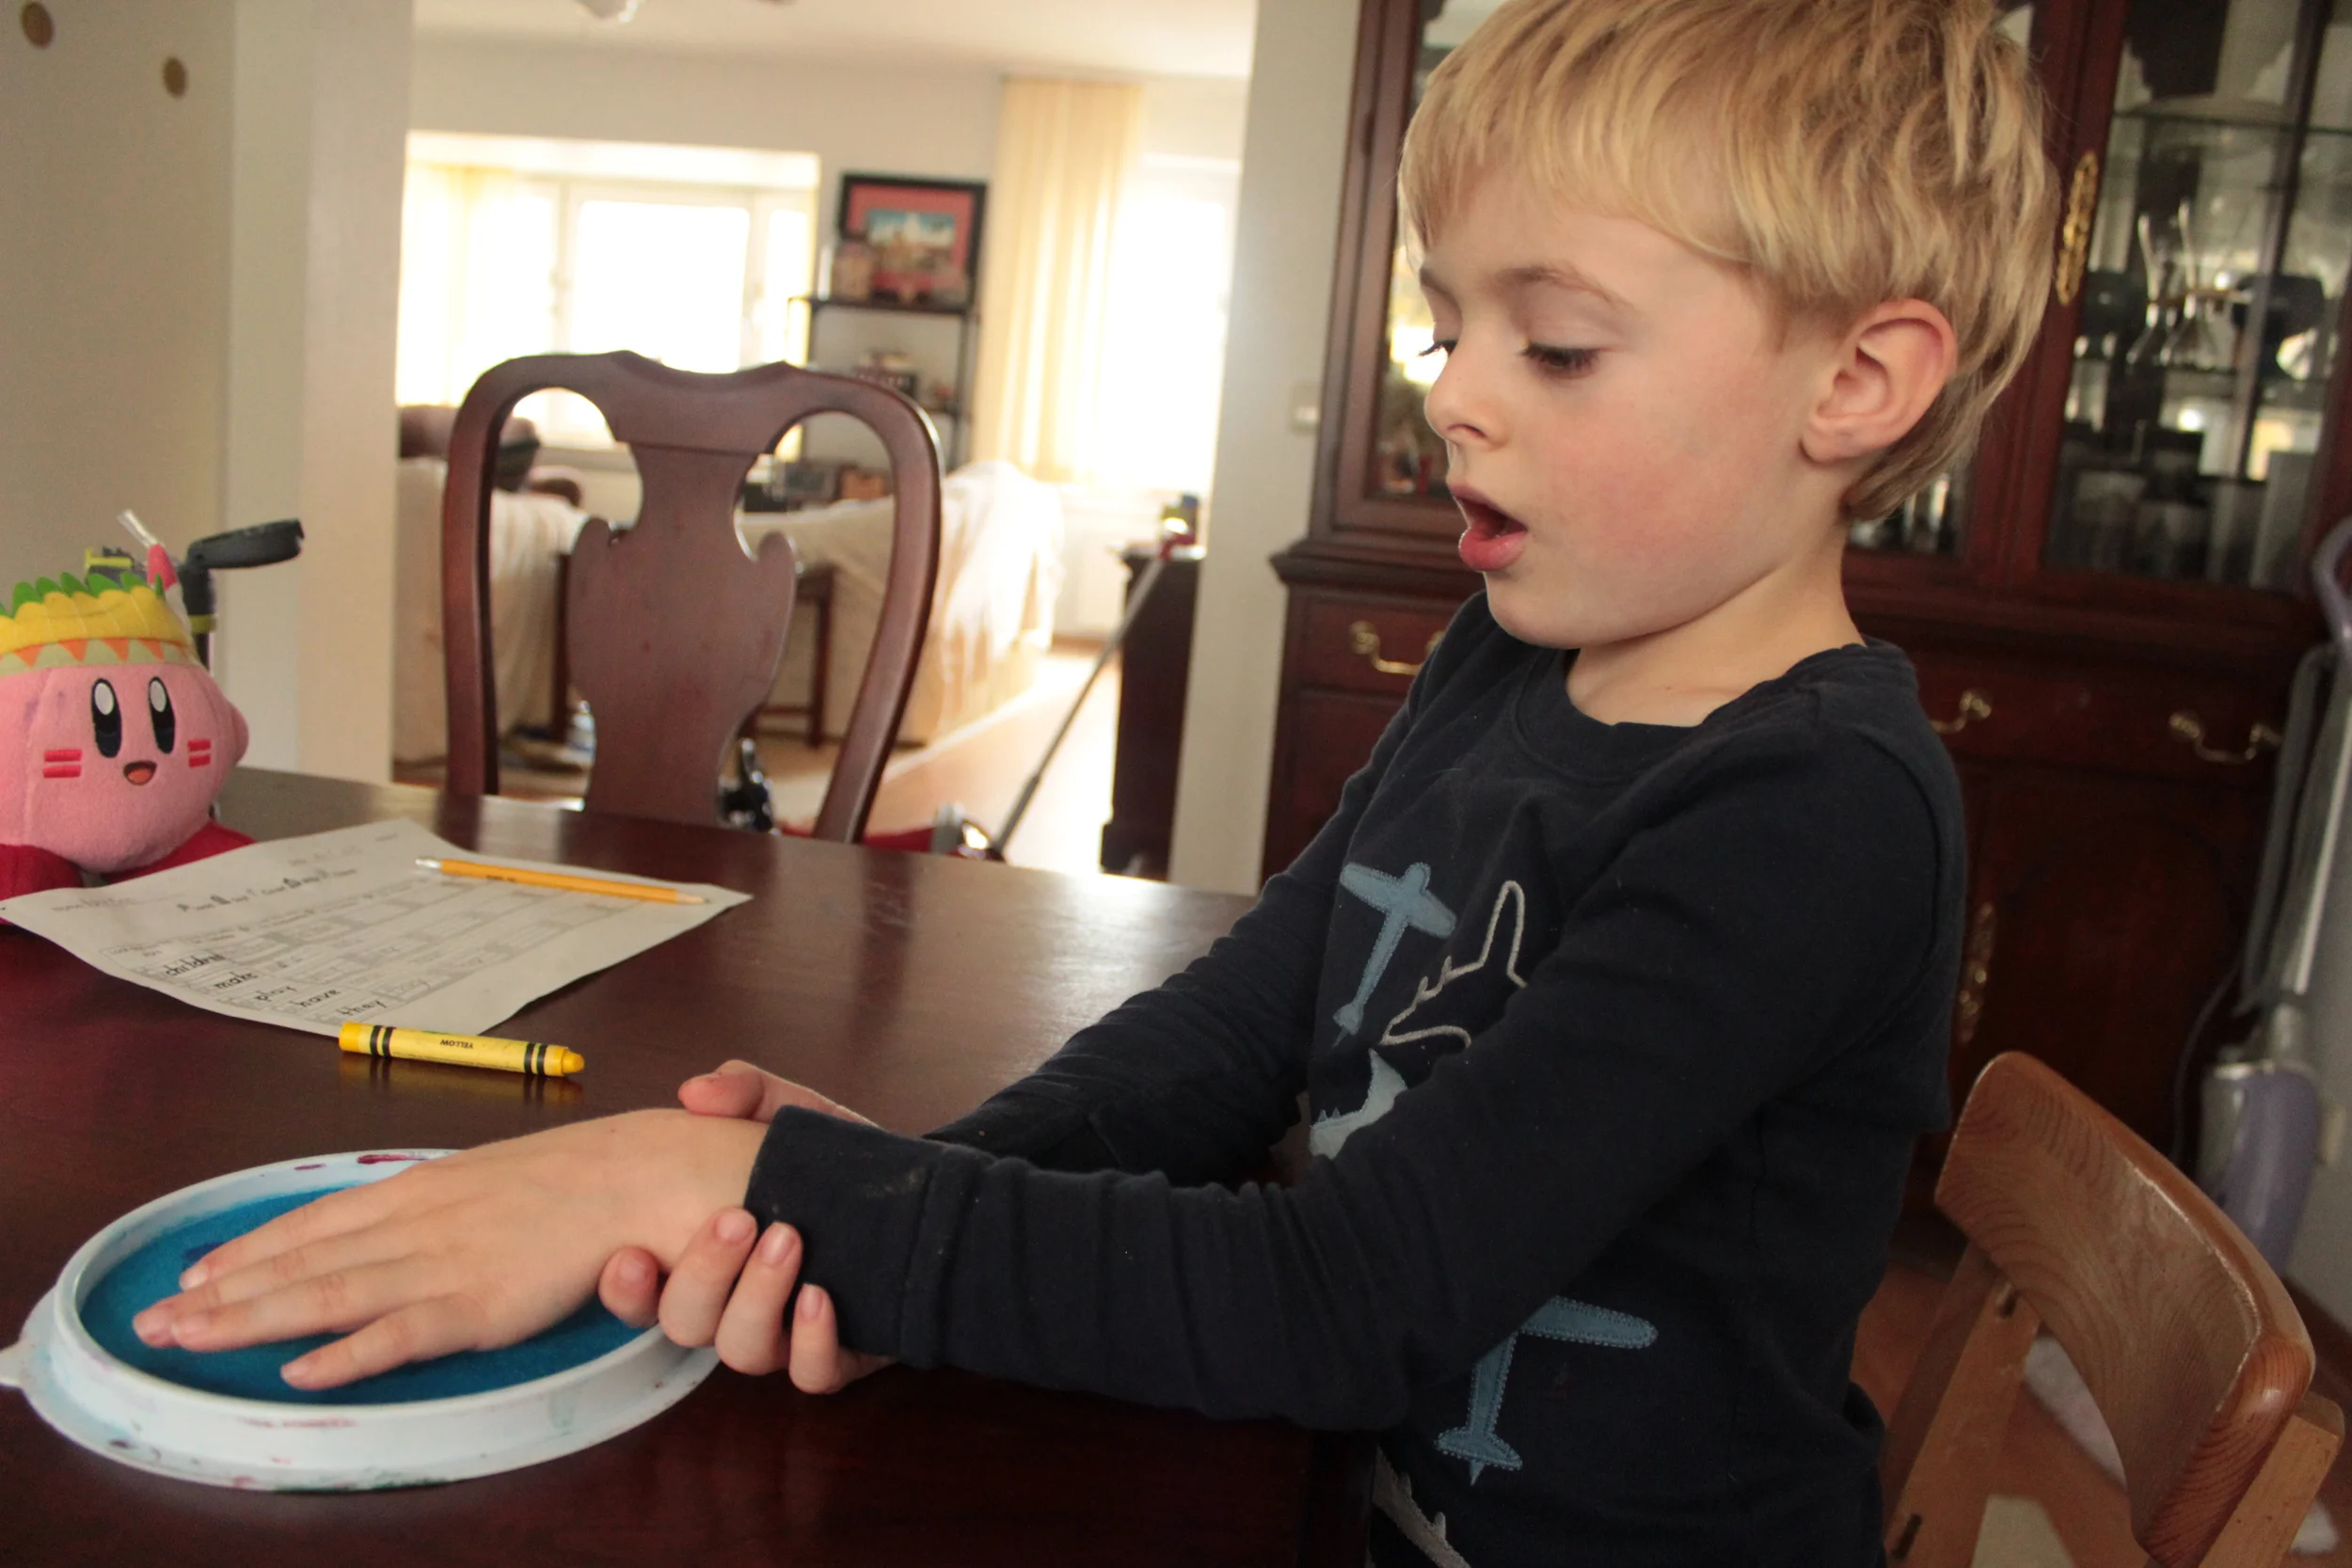
Embaressing that I allowed him to cut this way- but here you go-slicing the oranges

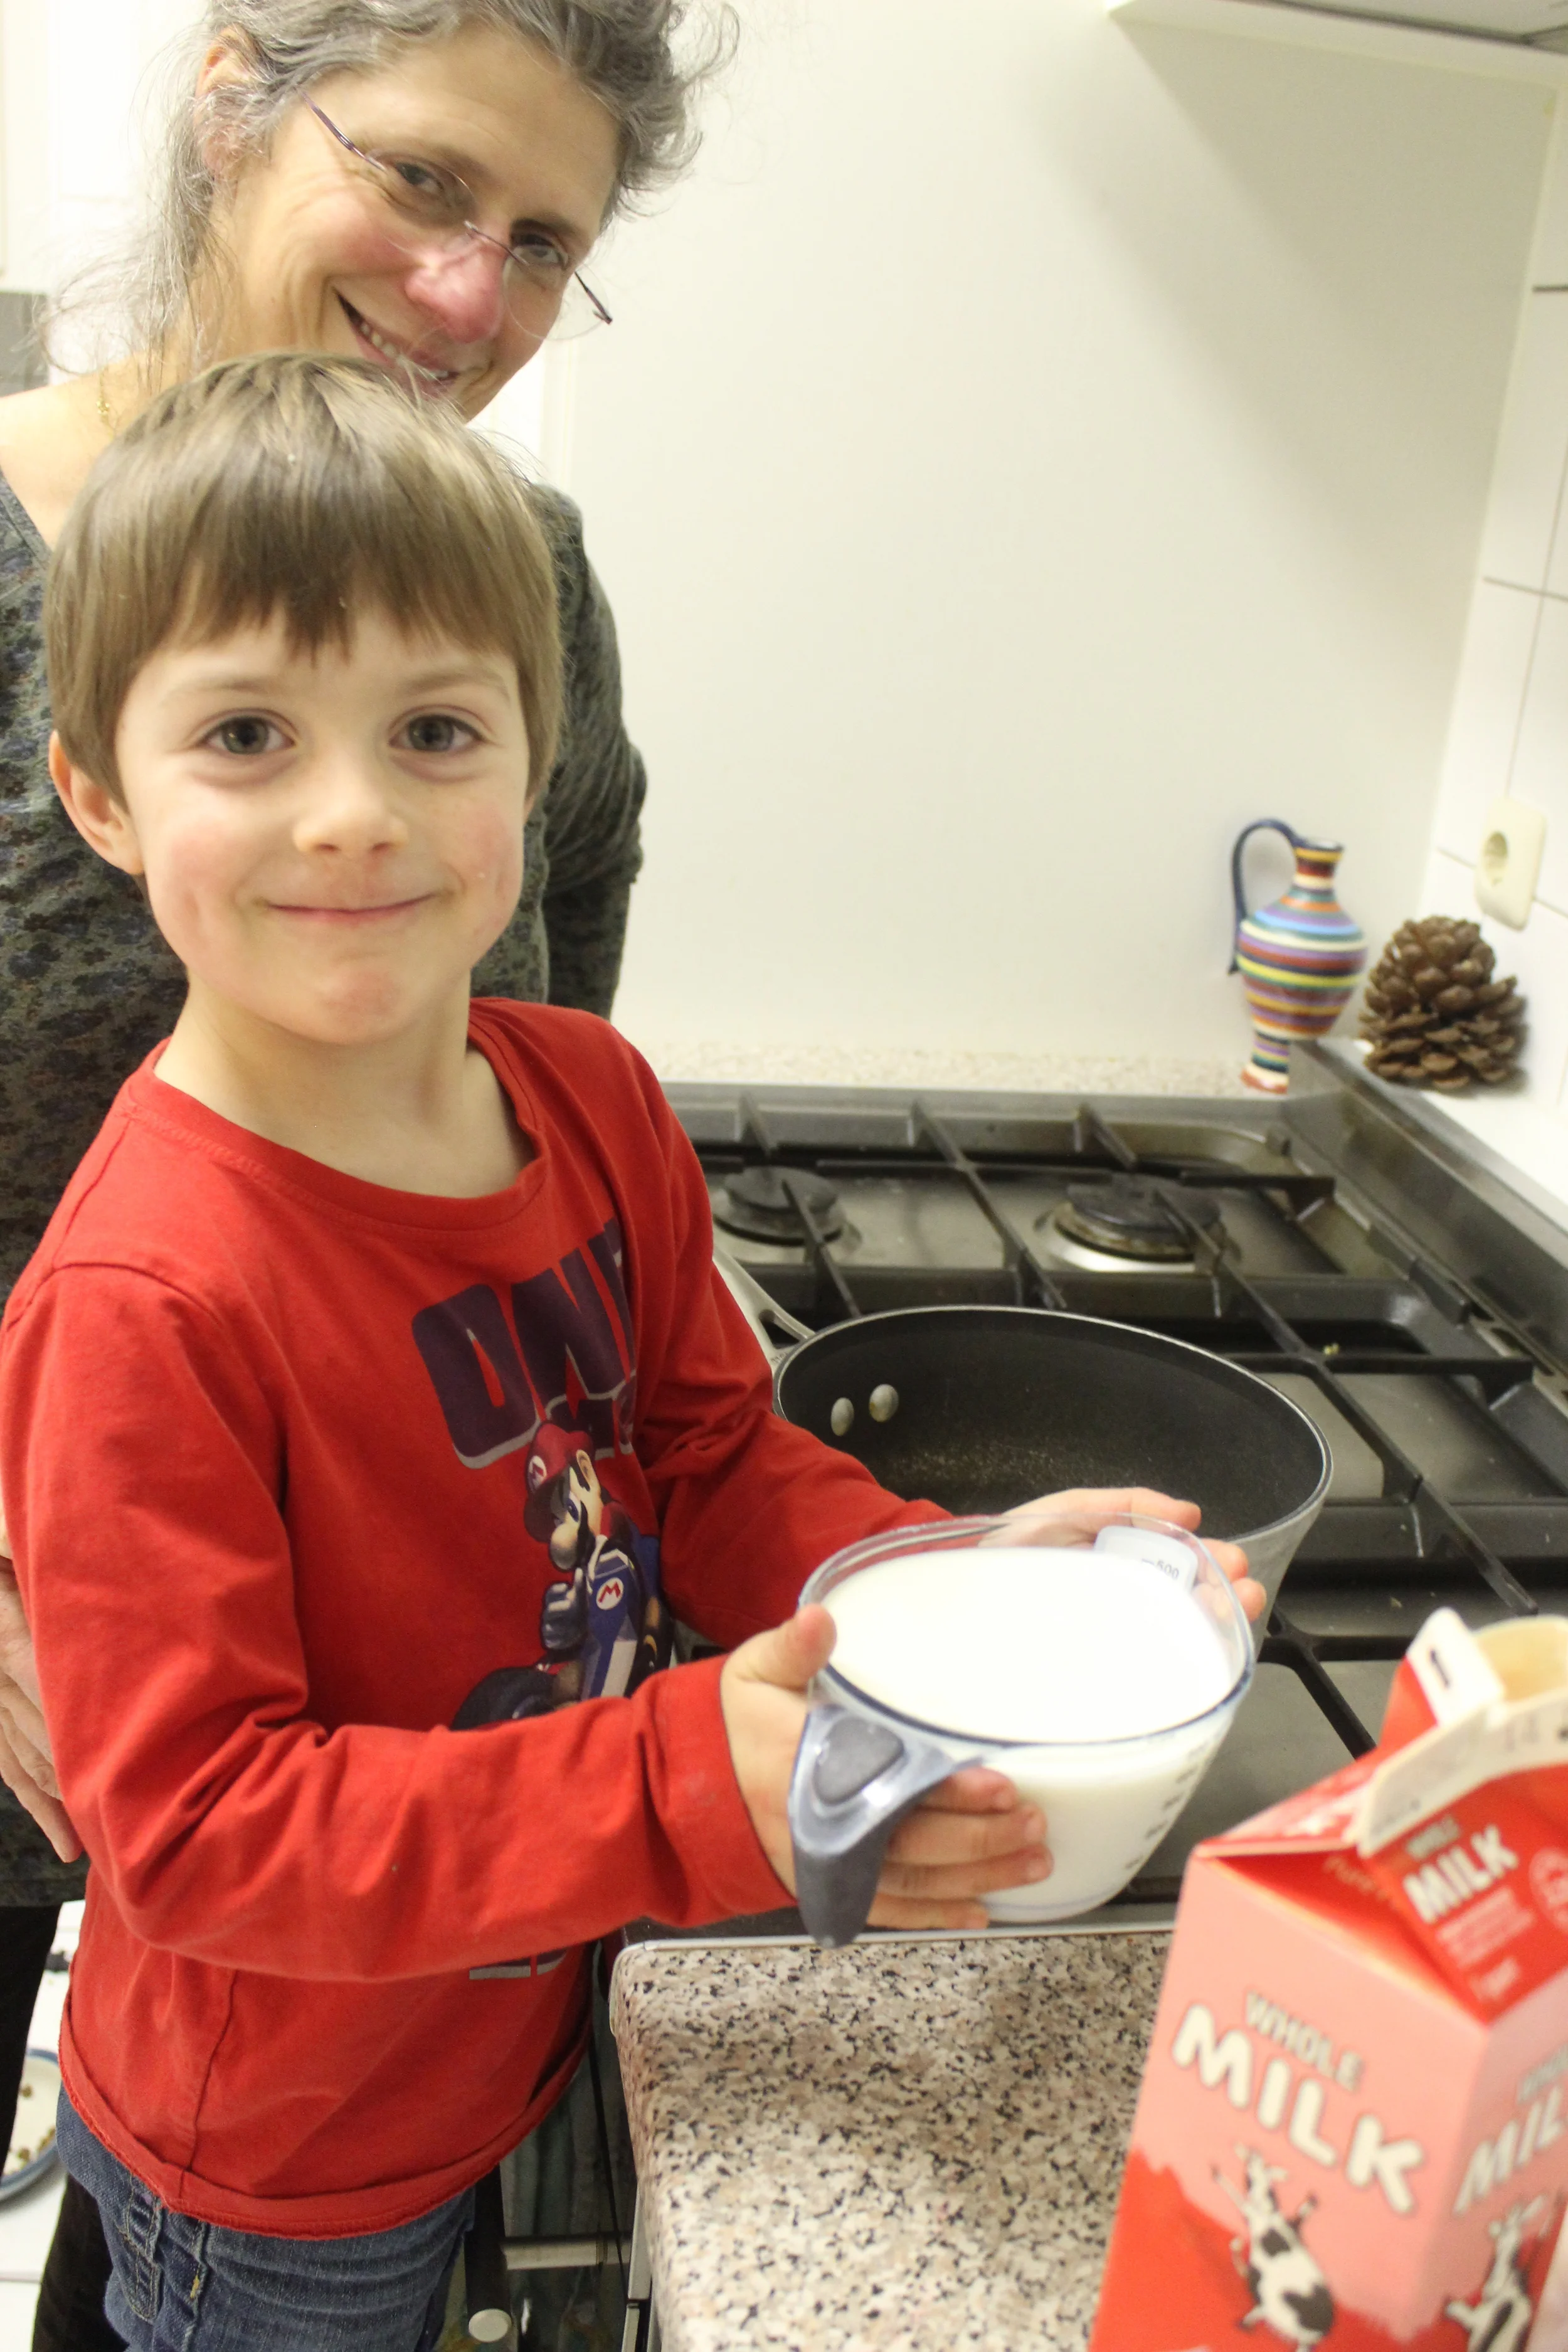
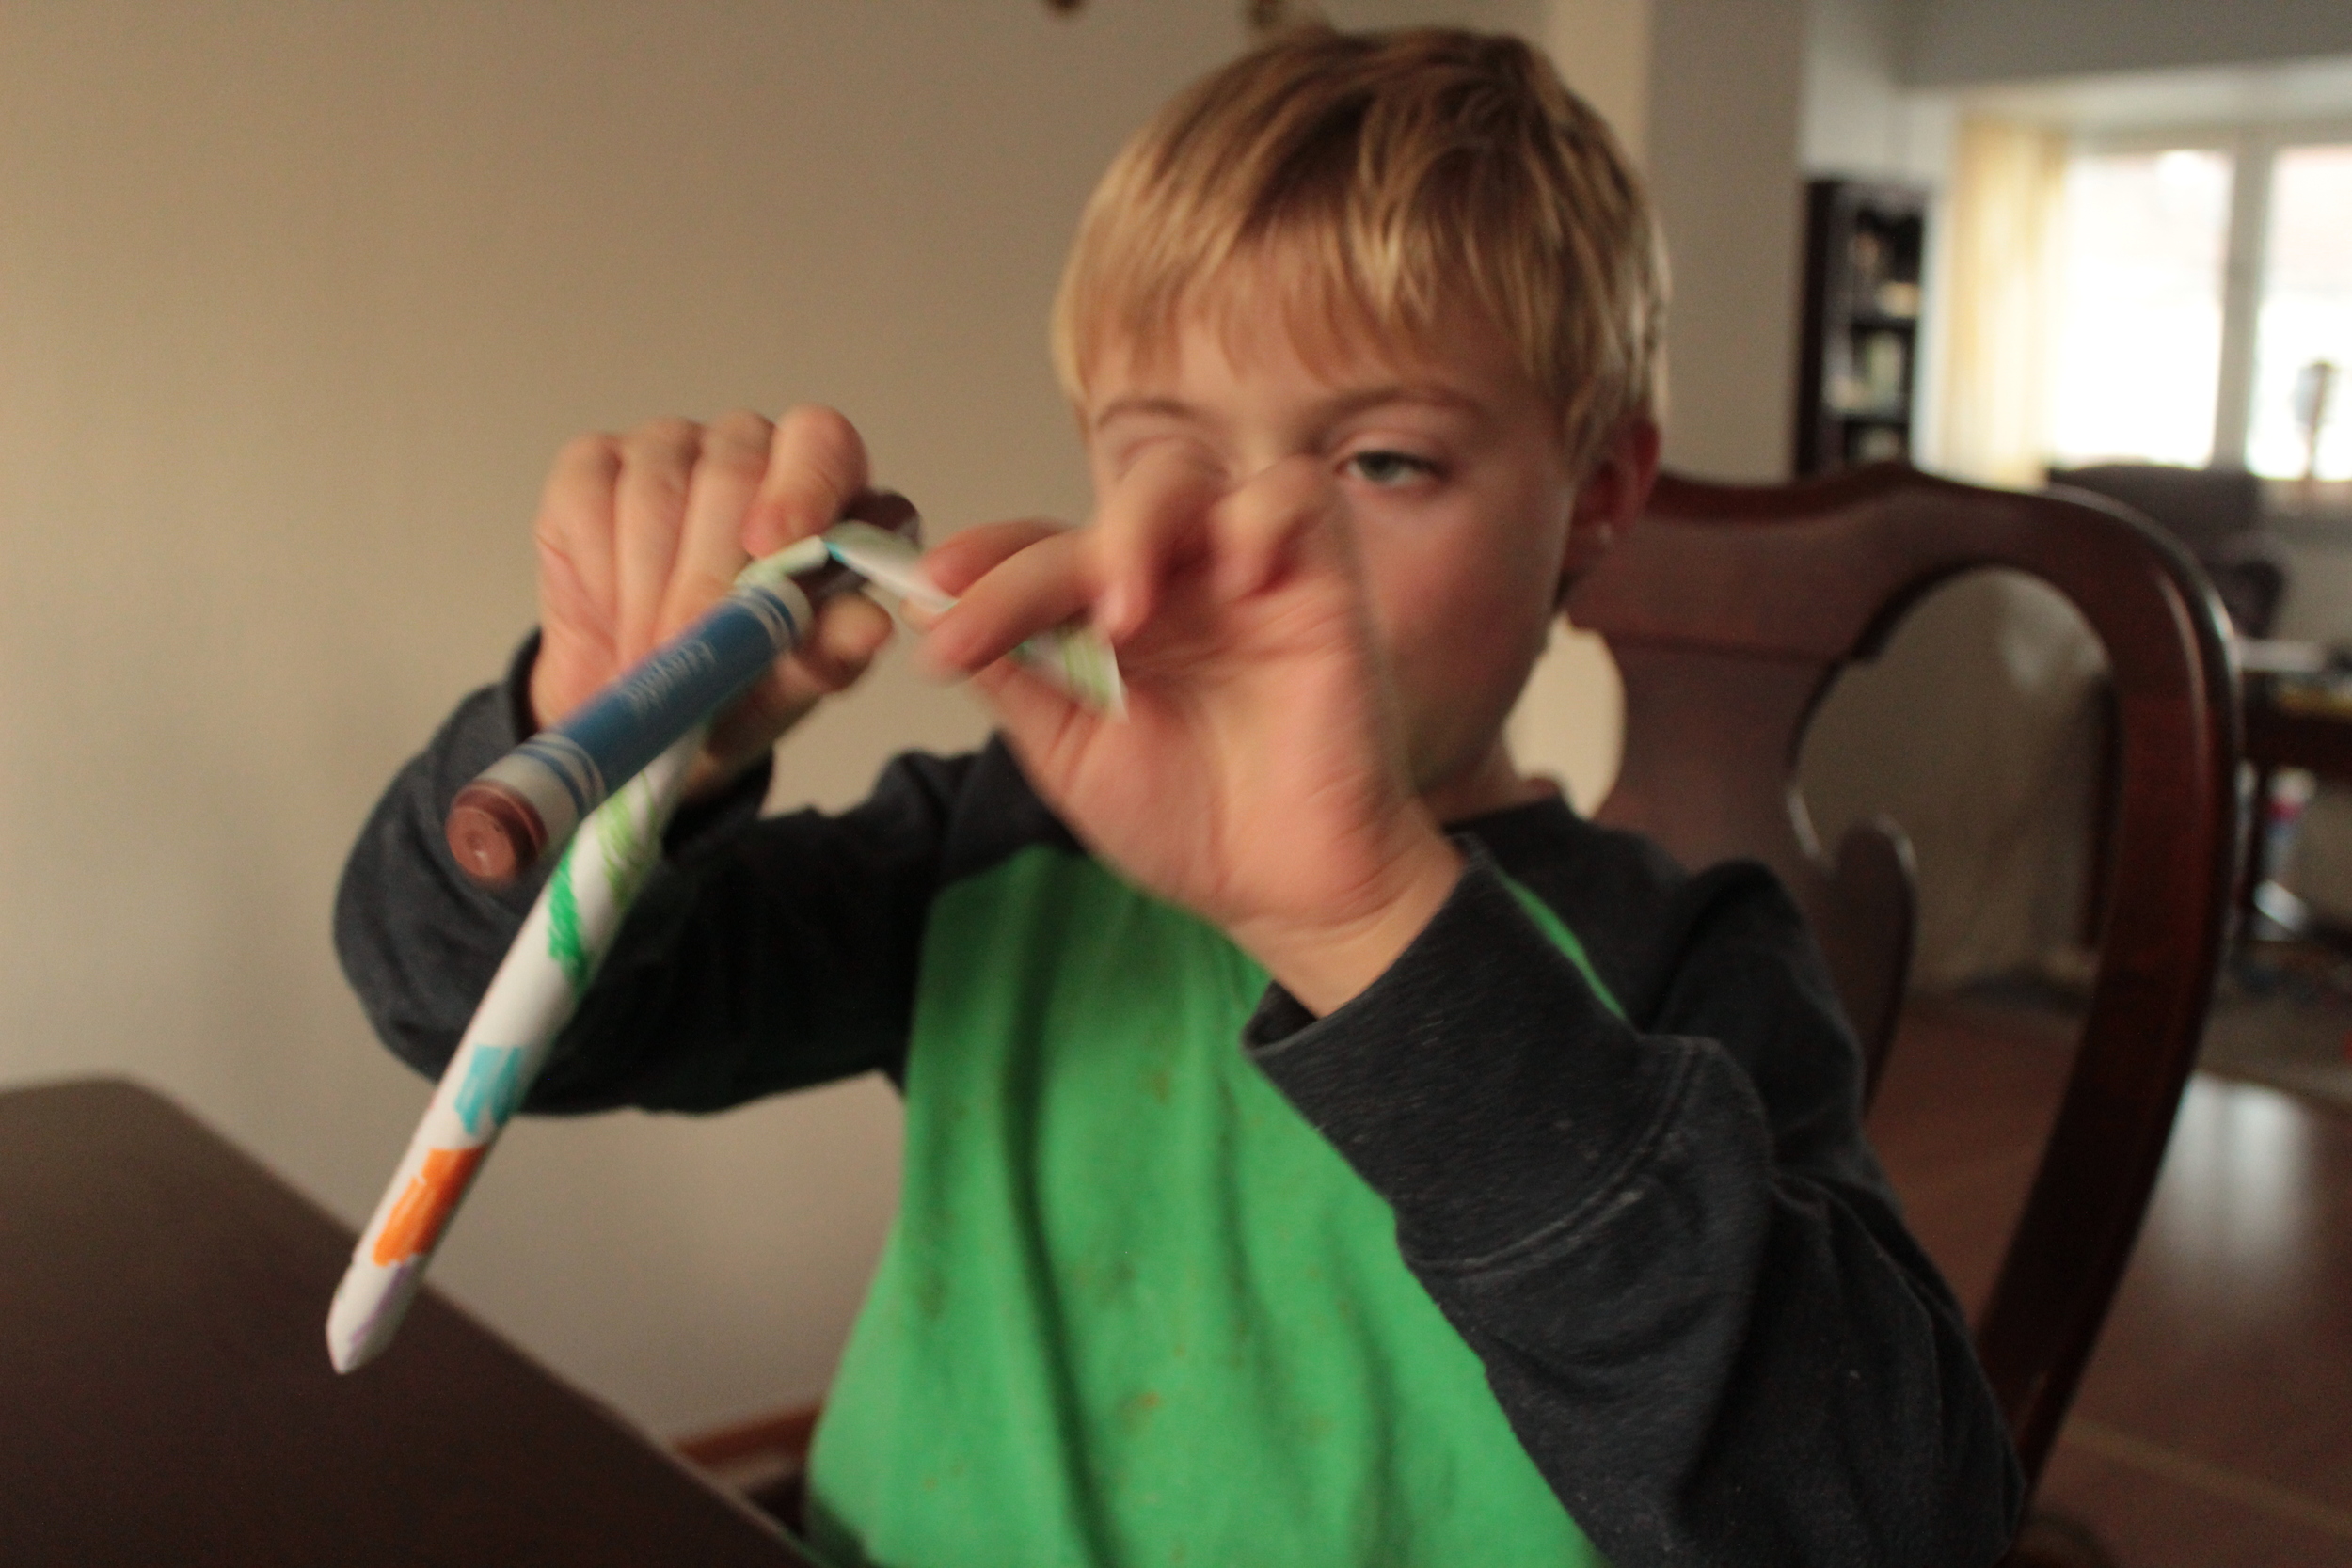
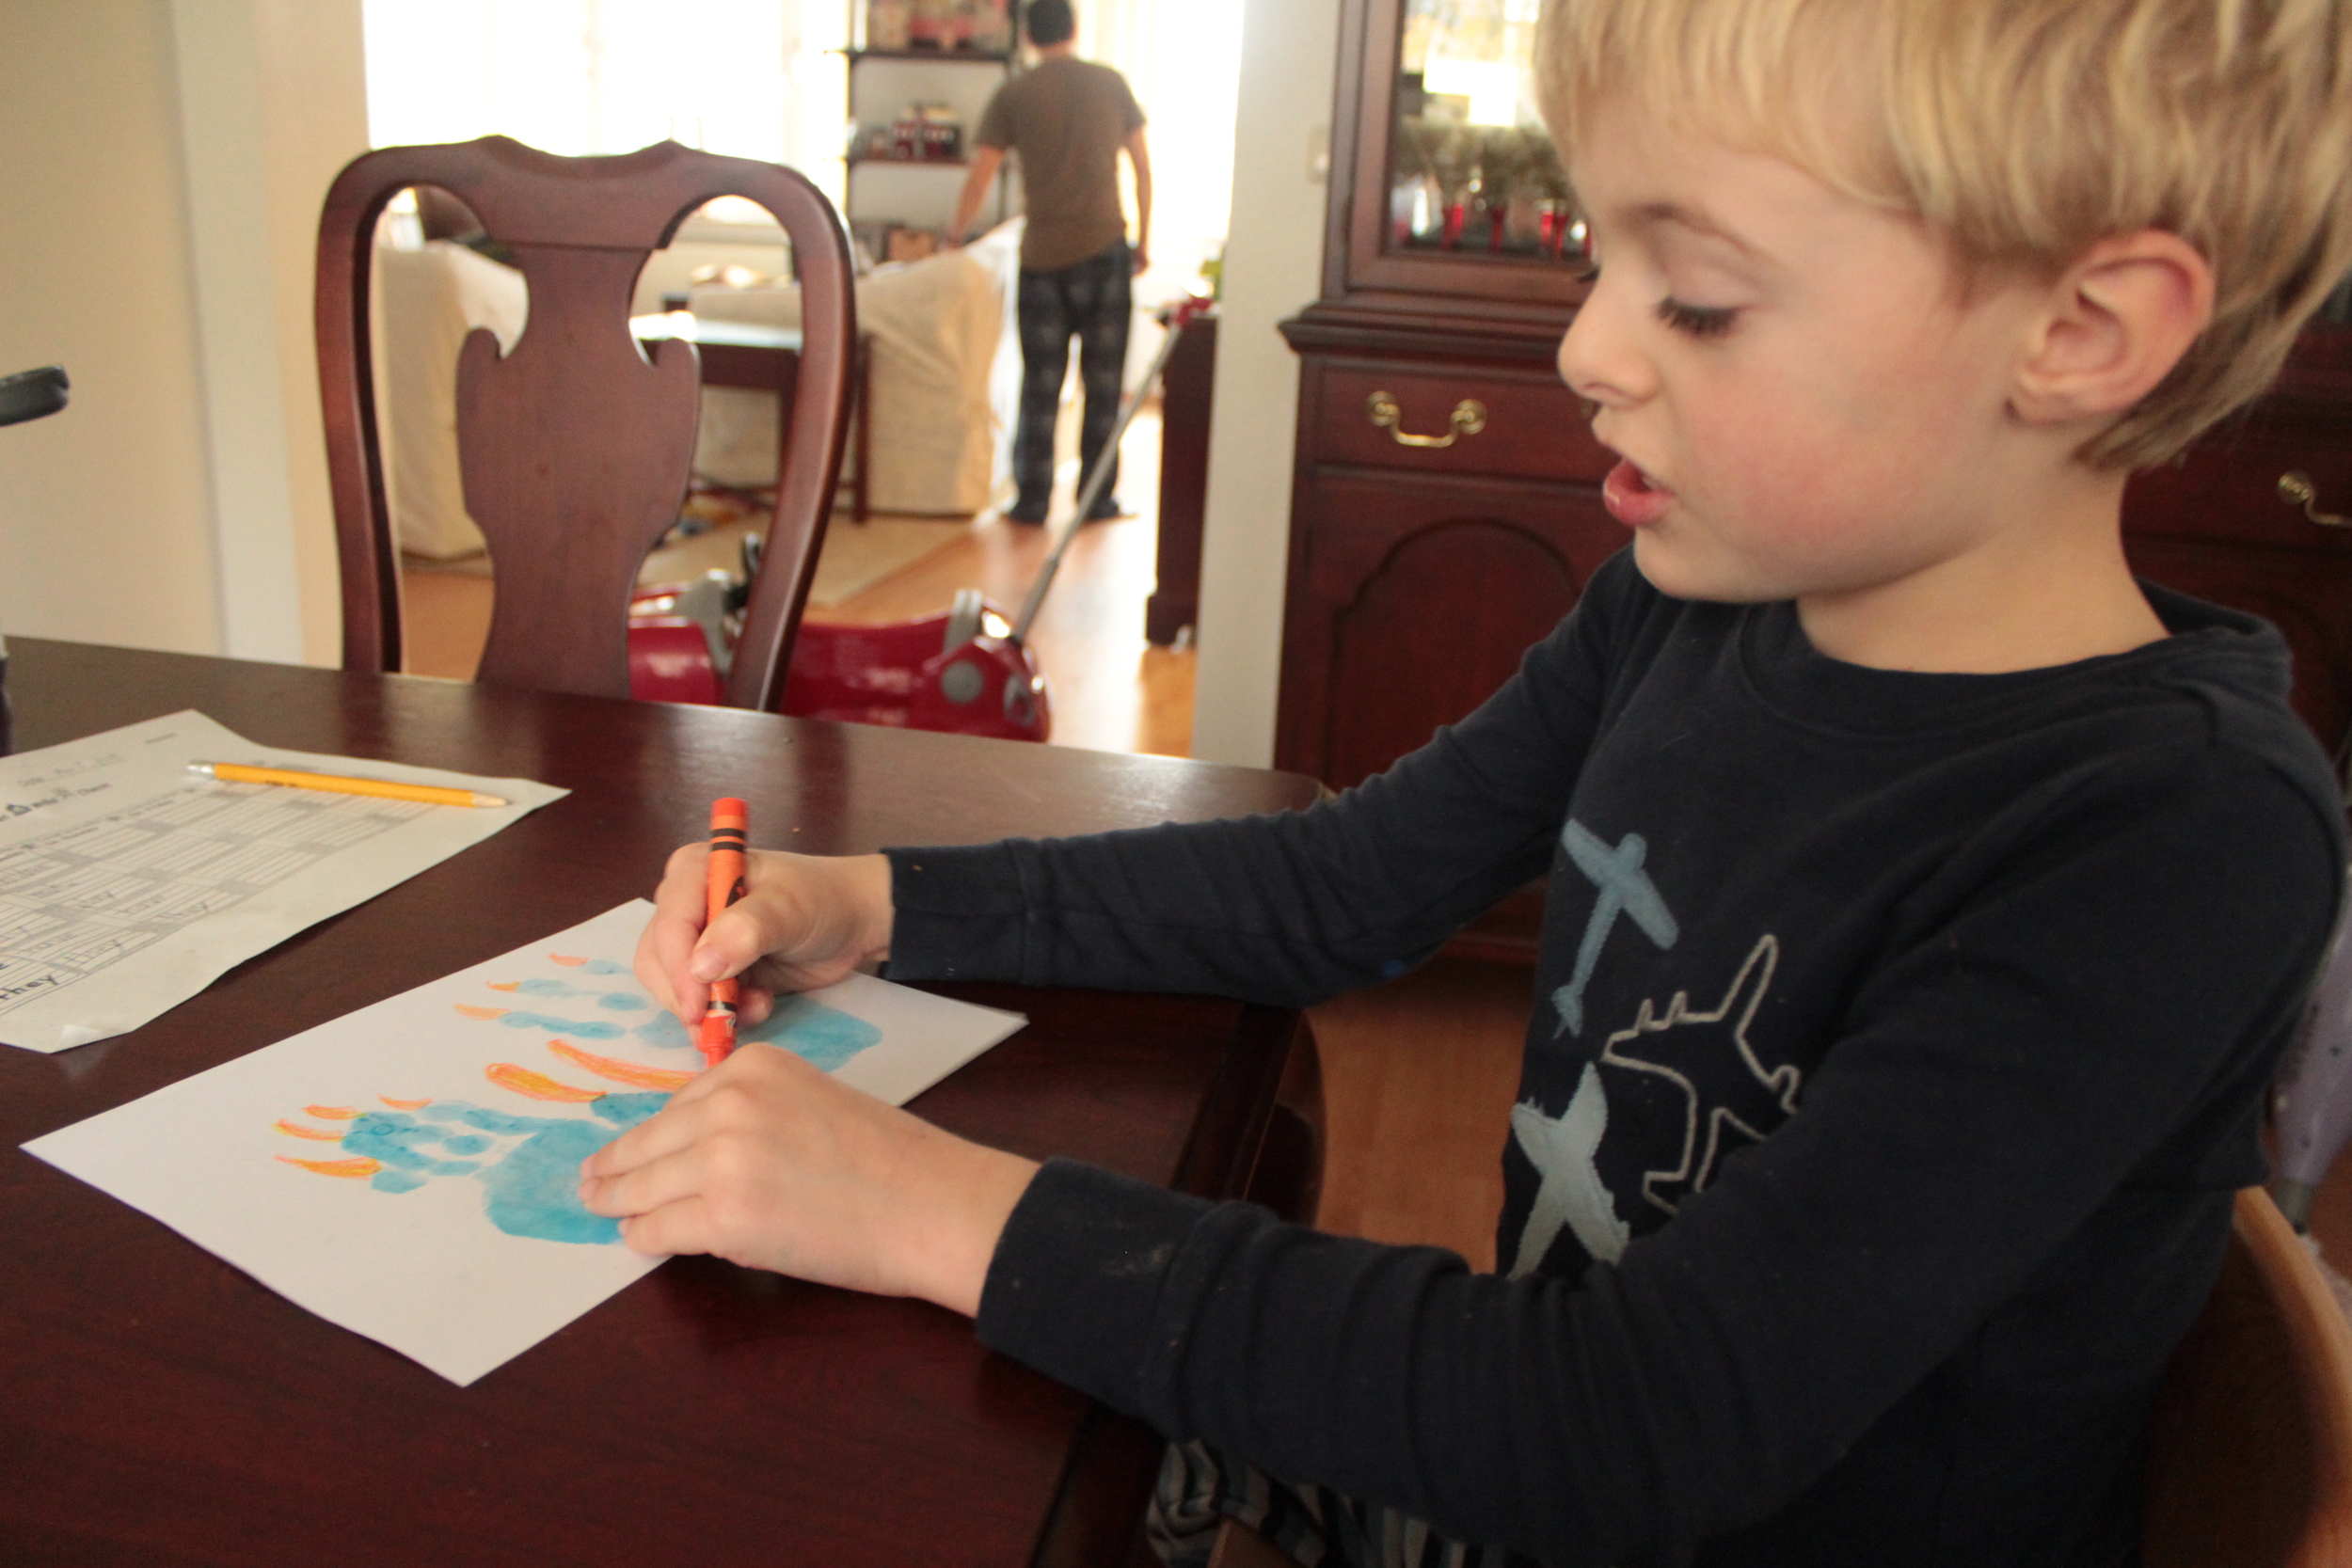
Some eat and some lay out oranges for drying.

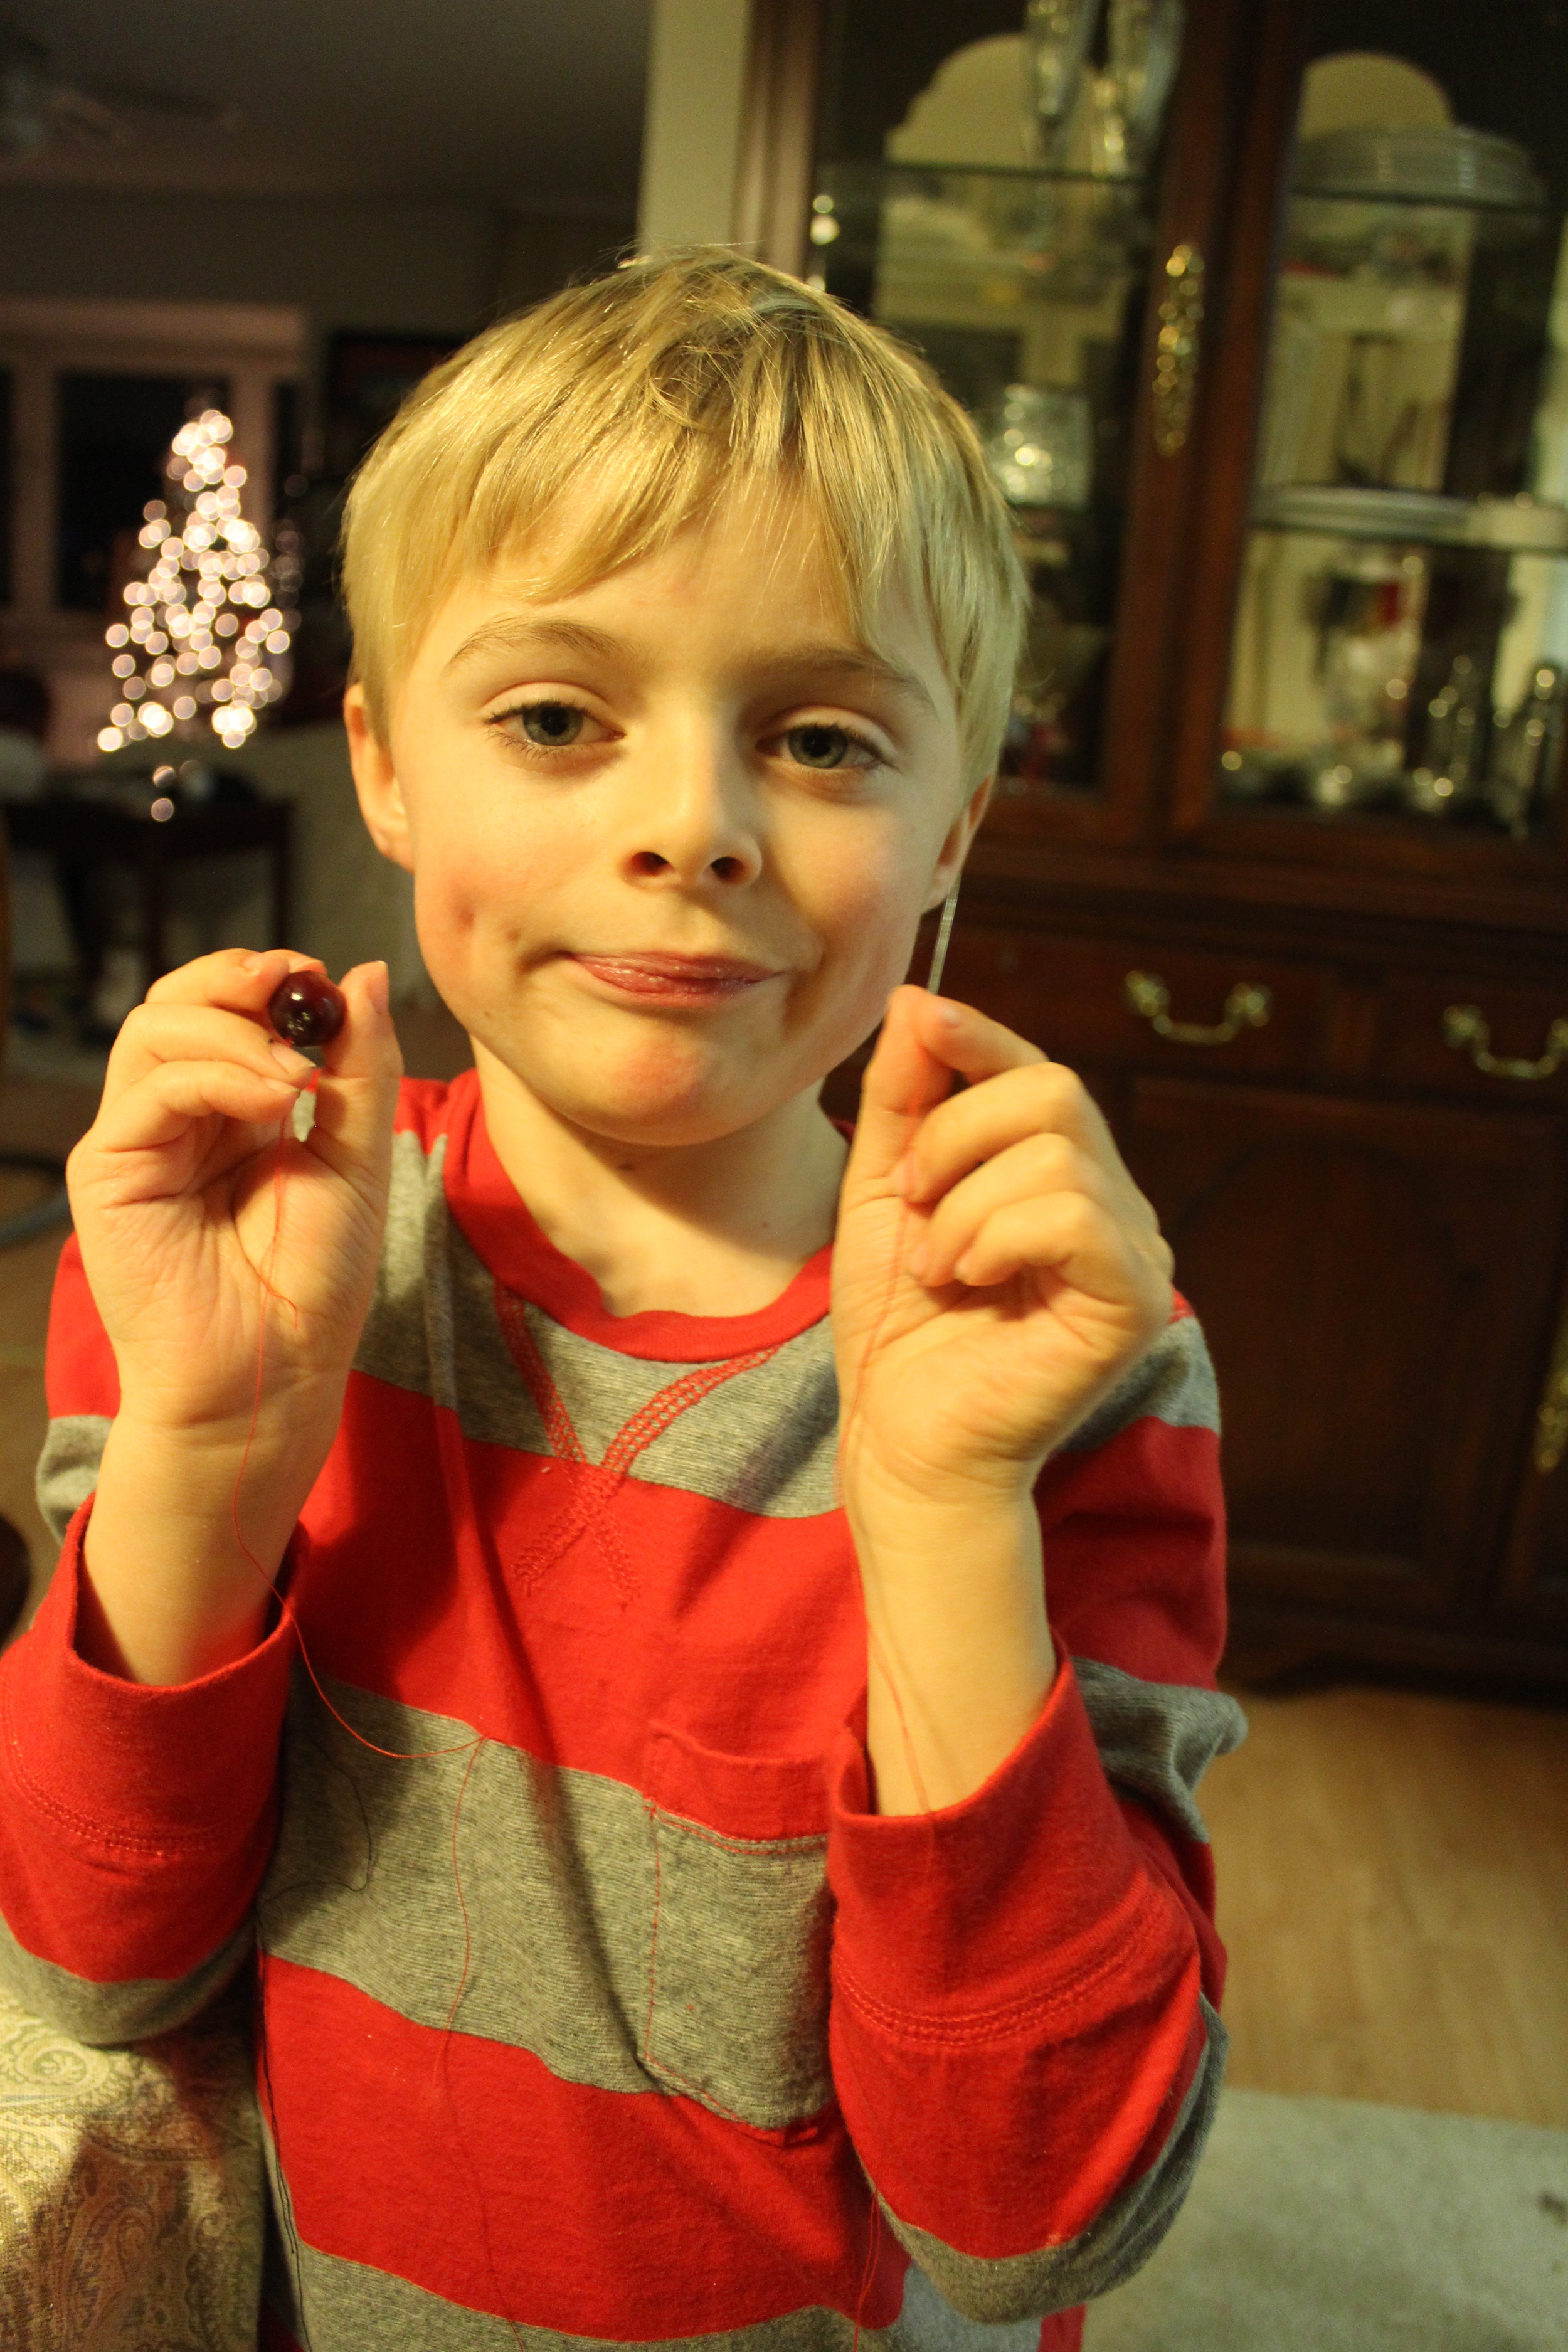
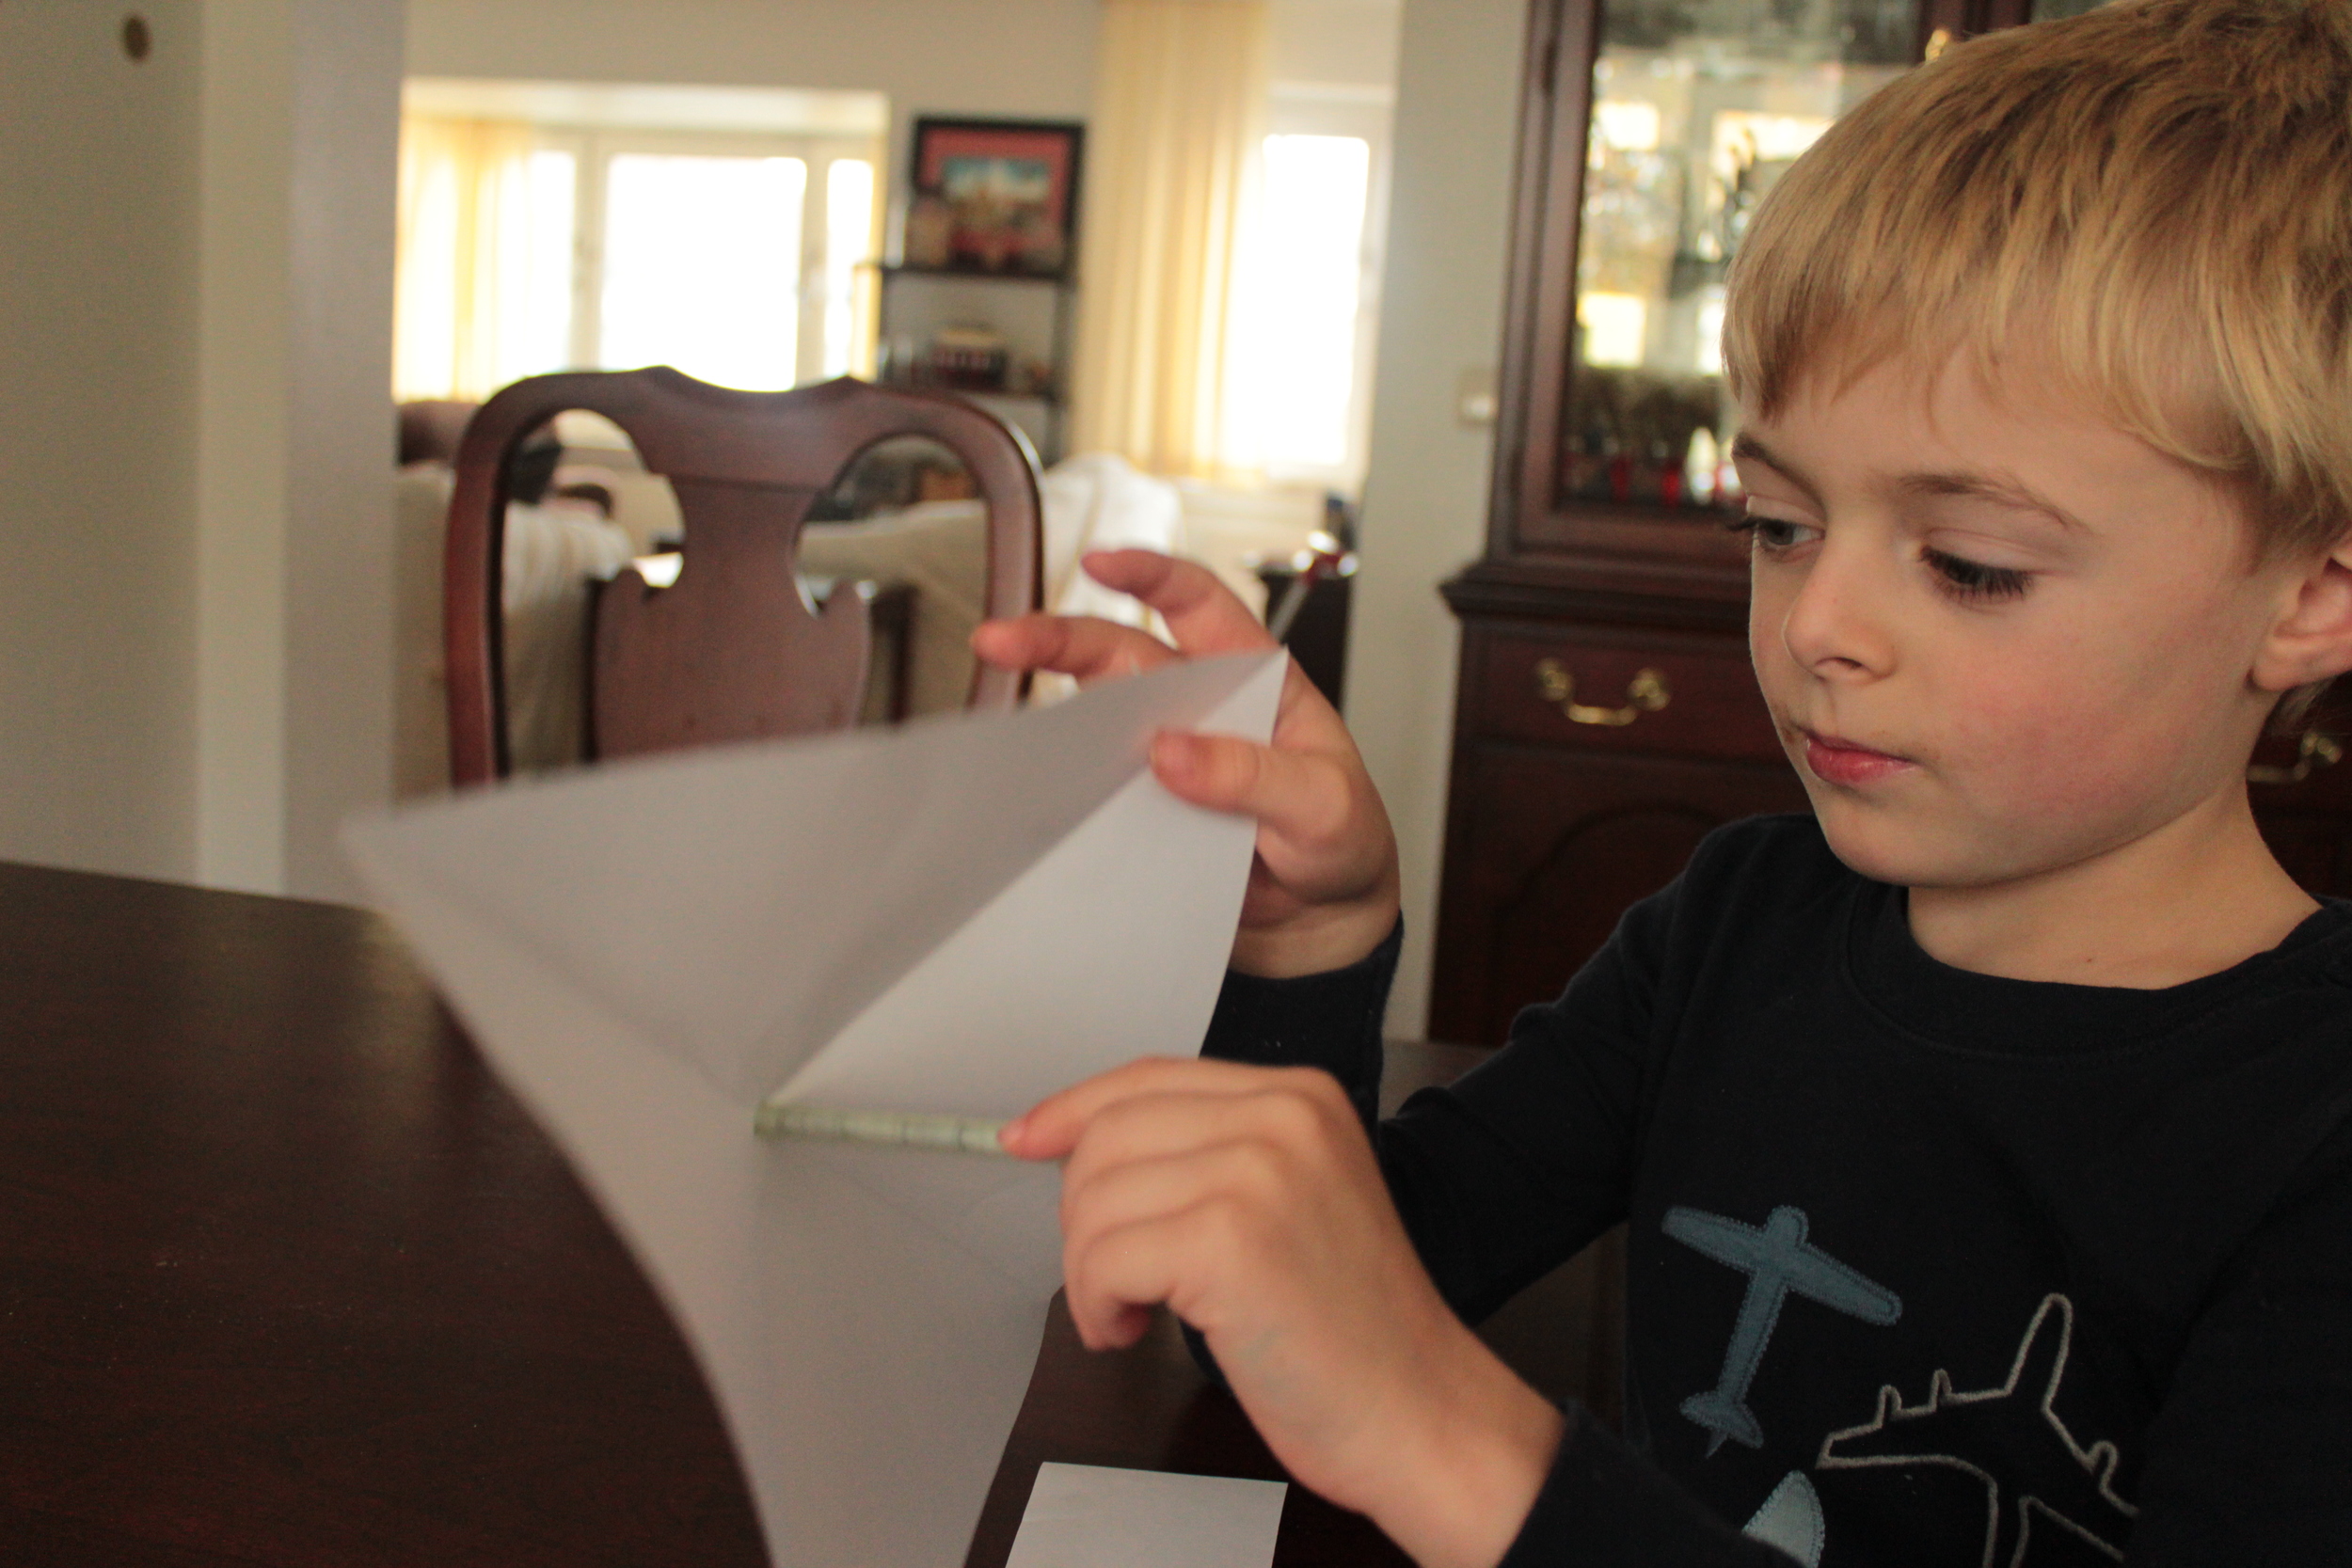
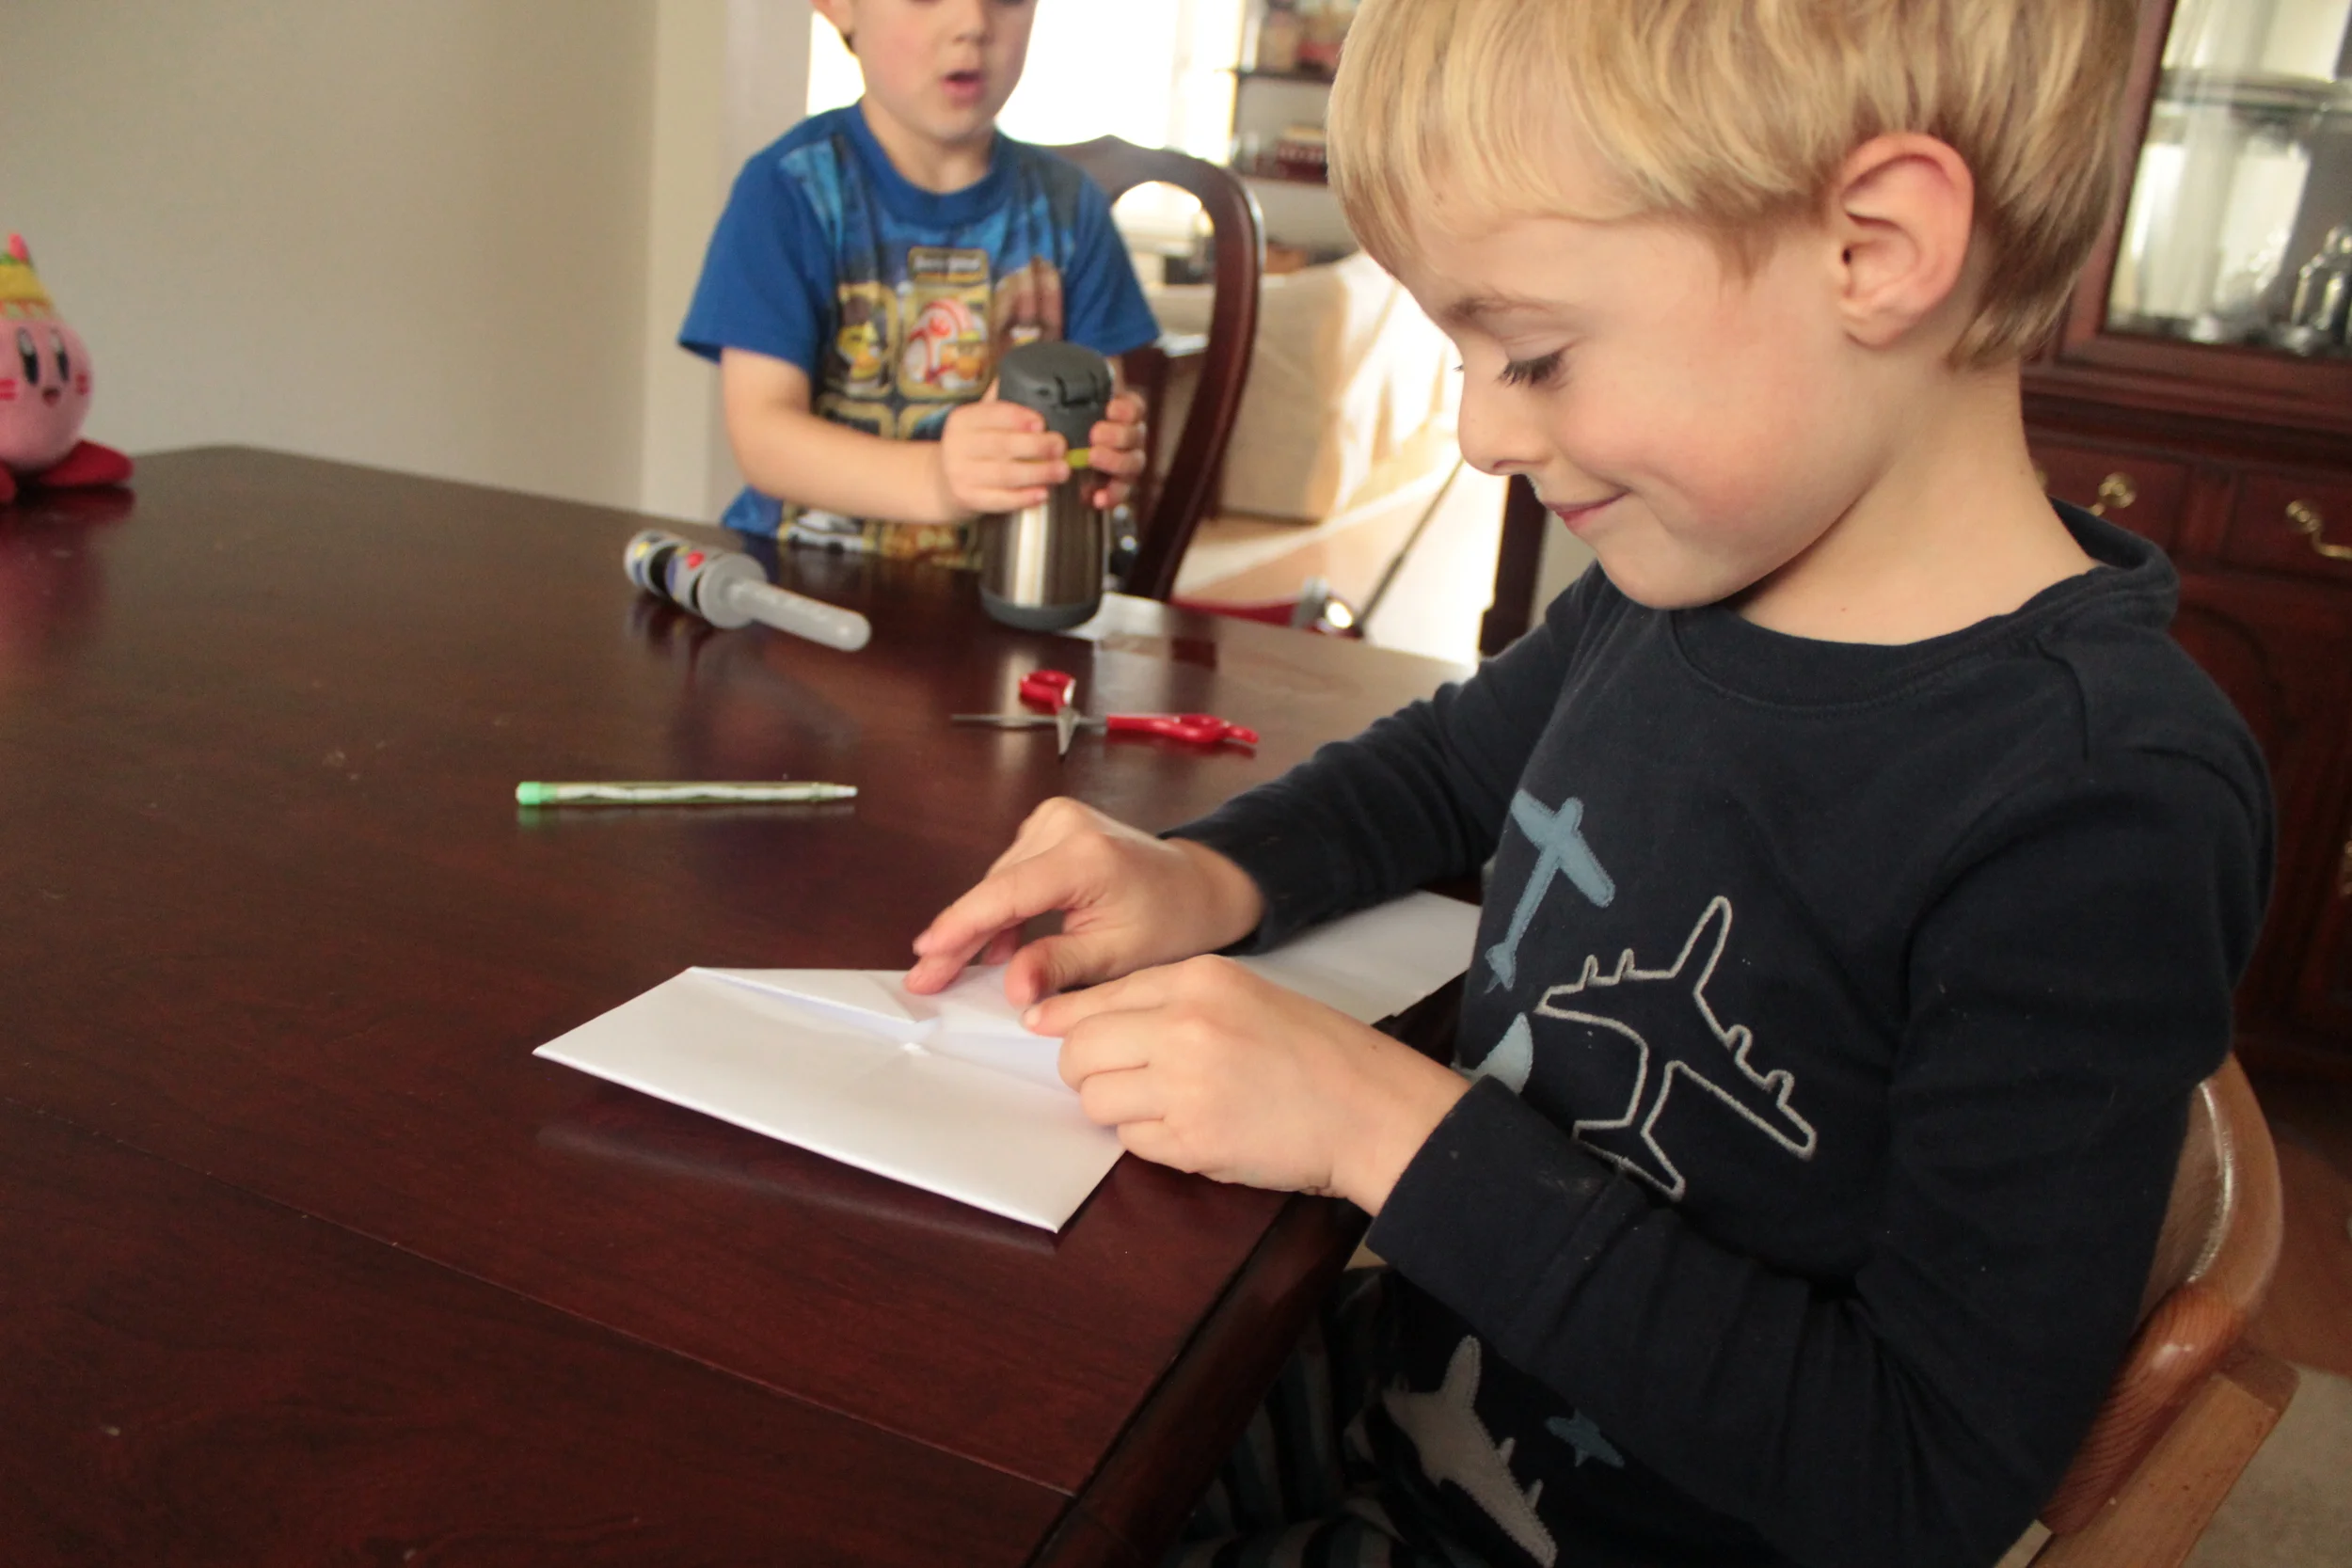
Thread a string through the dried orange.
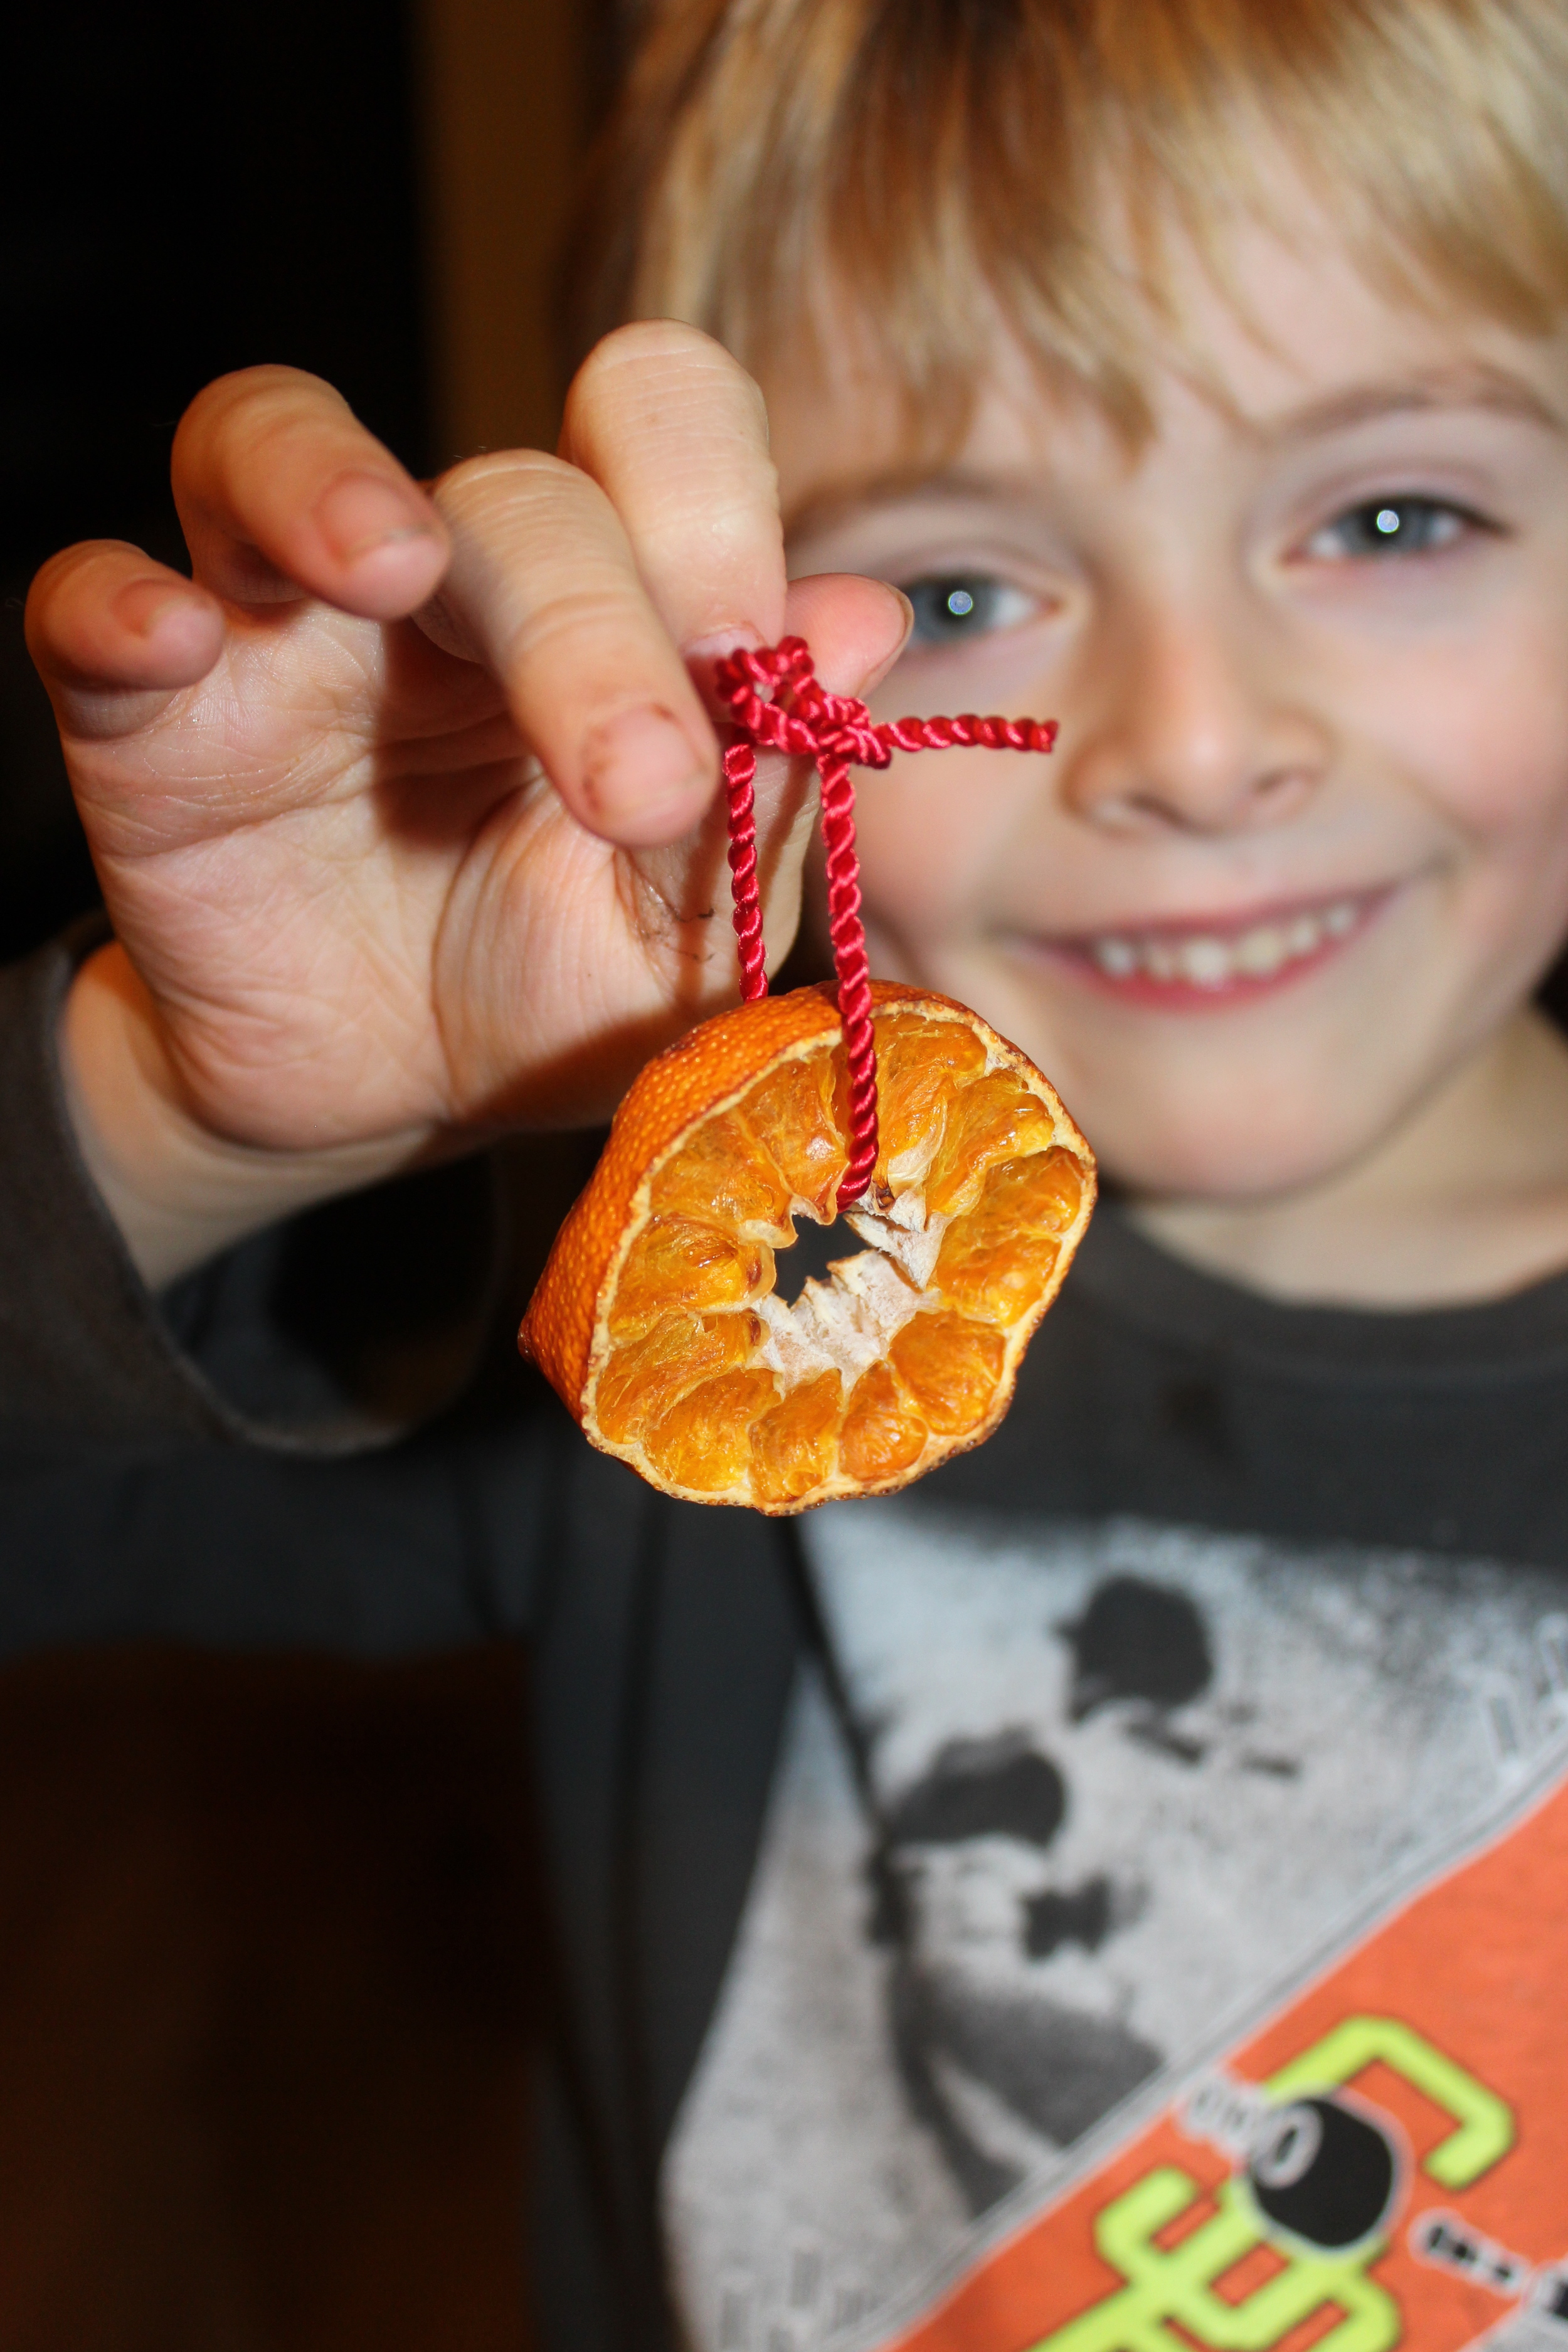
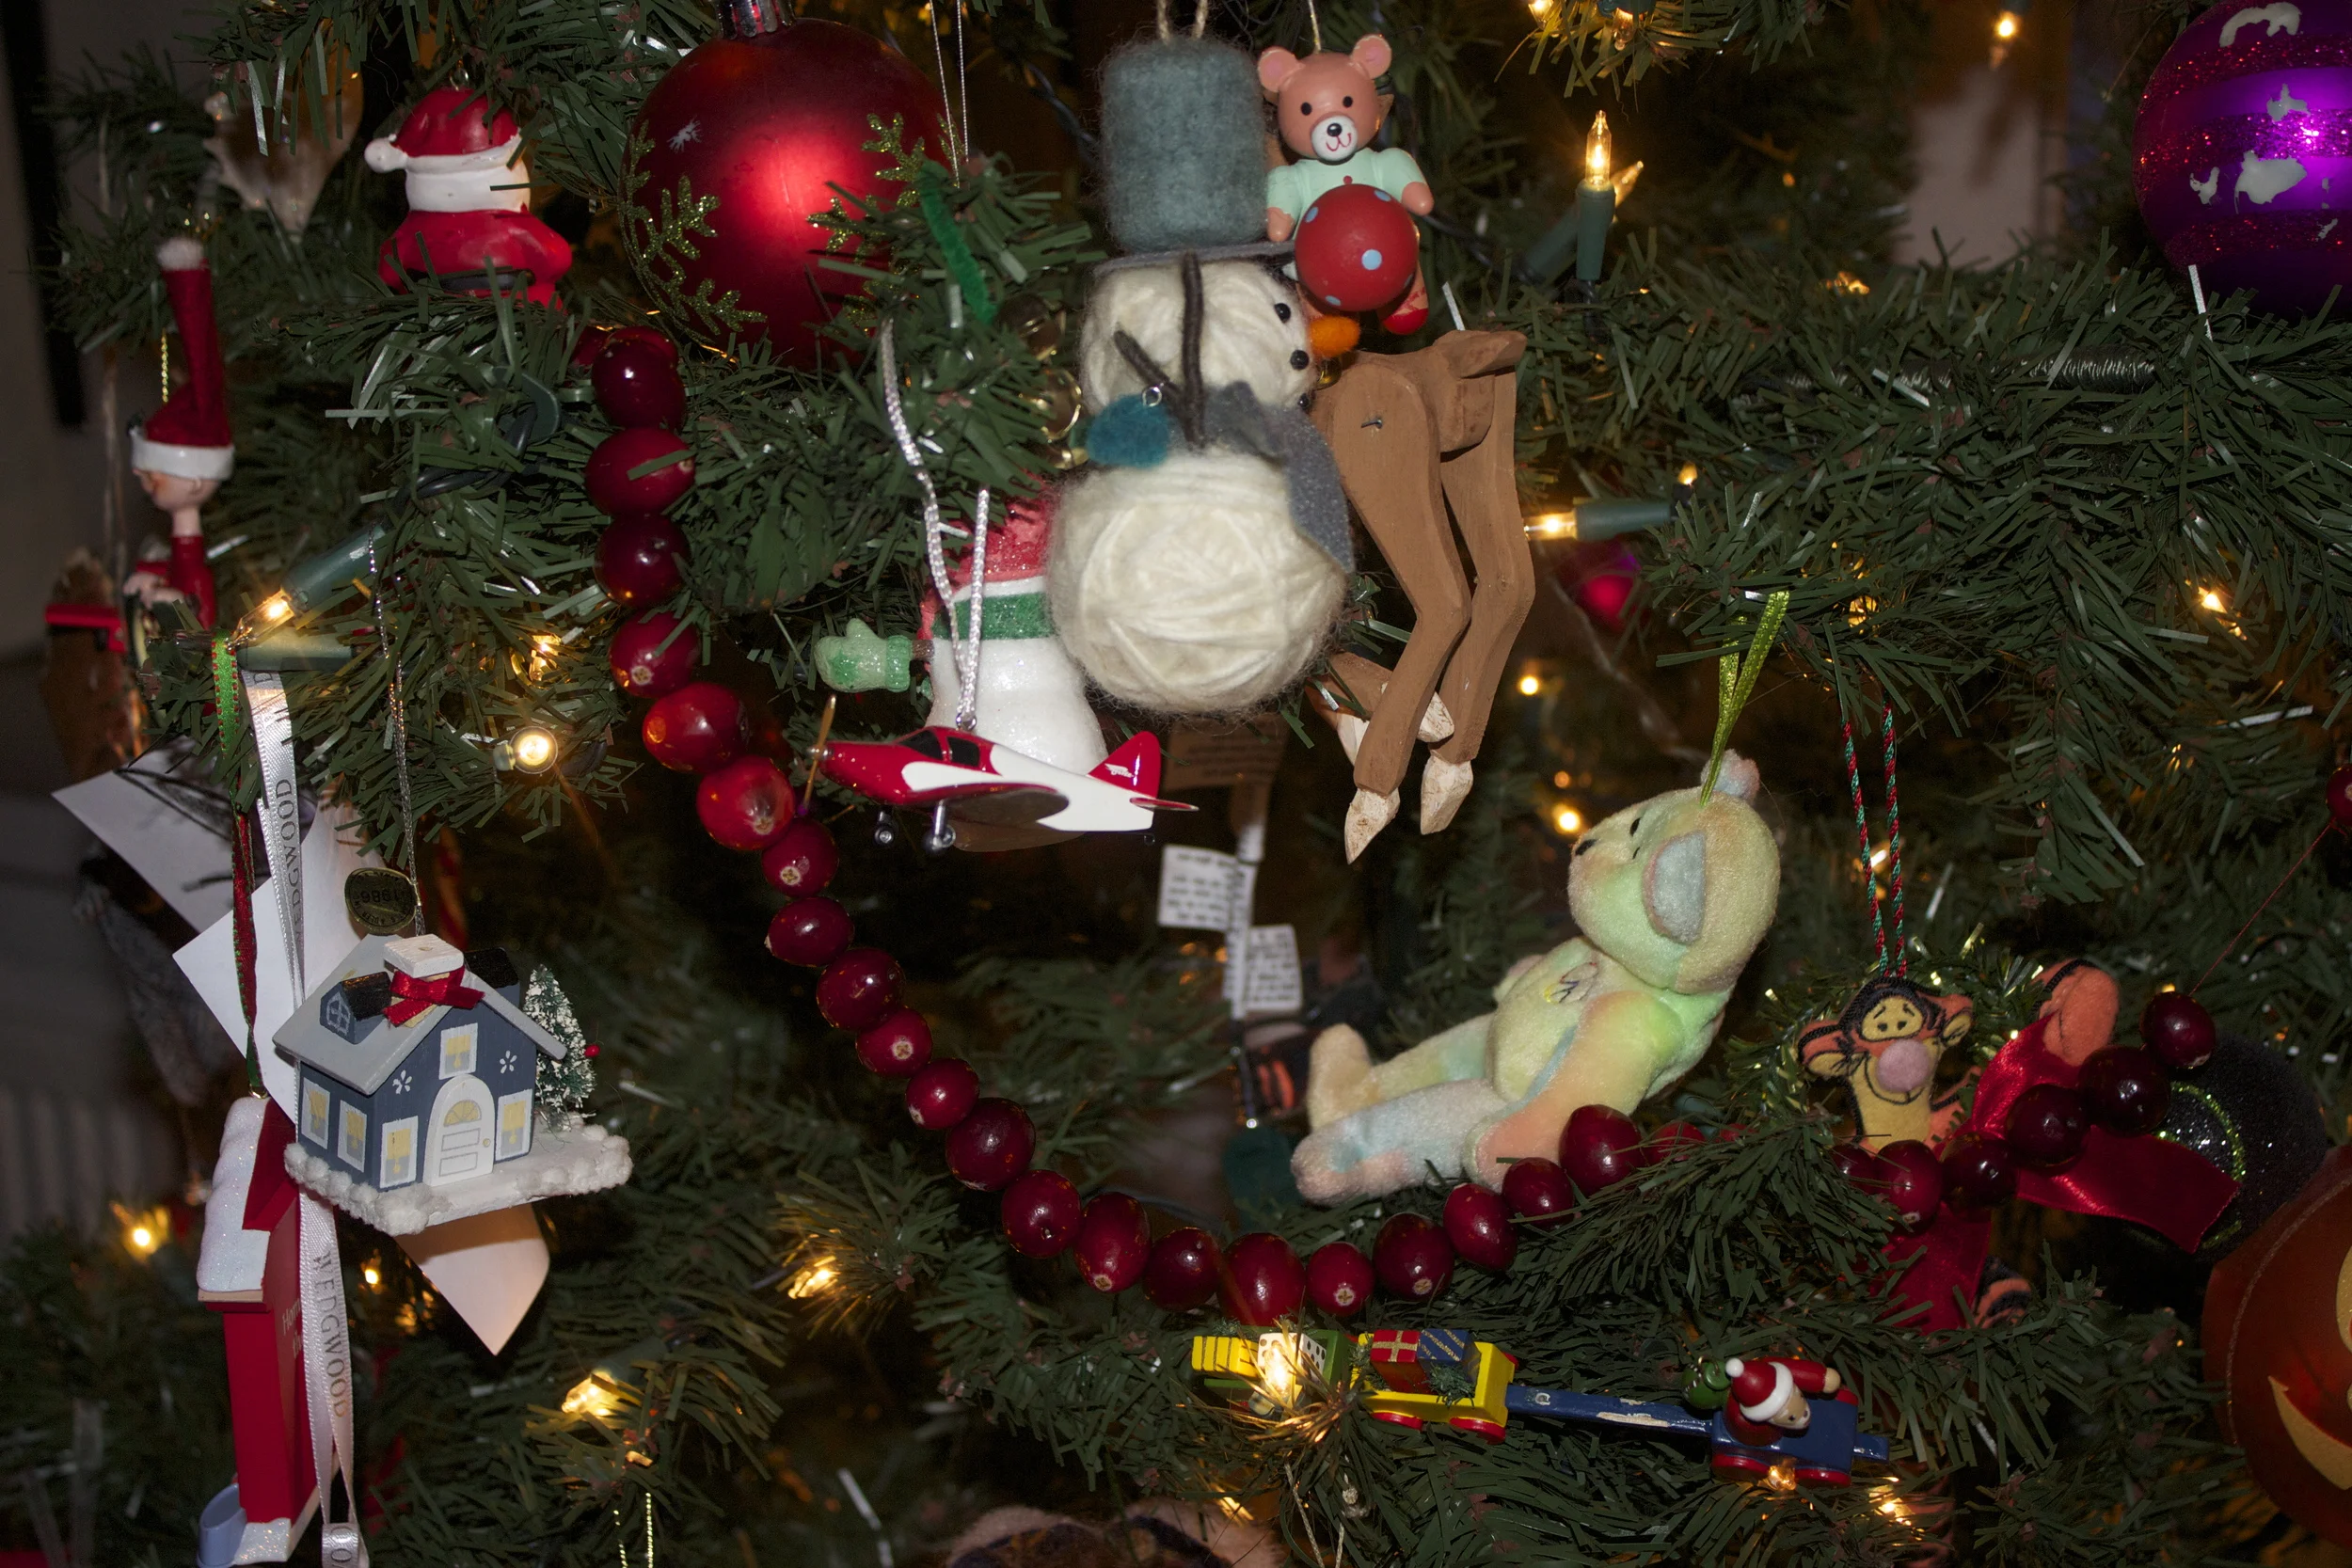
Our final product- a sunburst orange ready for the tree.
In addition to the oranges I was interested in making a Buche de Noel cake (Yule Log cake) to celebrate Yule. I am still going to make this cake that is a French tradition for Christmas but will incorporate it into my family's holiday meal or New Years meal, in other words I didn't do it yet-because I am too busy watching Netflix. I had always known this as being a Christmas tradition, but with Yule Logs being a central craft of this holiday it seemed fitting to use it for Yule. When I make it I'll tie it to both holidays. I'll try to put pics of our cake on the Facebook page.
The Yule log is an interesting tradition. When I was researching the Yule log I found that what you make the log out of will bring different blessings to your family.
"Because each type of wood is associated with various magical and spiritual properties, logs fromdifferent types of trees might be burned to get a variety of effects. Aspen is the wood of choice for spiritual understanding, while the mighty oak is symbolic of strength and wisdom. A family hoping for a year of prosperity might burn a log of pine, while a couple hoping to be blessed with fertility would drag a bough of birch to their hearth."
I hope you are having a wonderful holiday season and celebrated the solstice with something light and warm to celebrate our days getting longer!
http://www.saveur.com/article/Recipes/Buche-de-Noel